Good Sunday Morning everyone, Heidi here with my current DT project for Julie.
This month of course some prepare for the Easter Bunny, our best Sunday dress and a ham dinner. I chose instead to prepare a pastel canvas pretty using flower's, metal's and mesh bling from KS4U.
Julie has incredible items and is always adding new items fresh as a spring morning to the store front's!! So head to her .net store or her zibbet shop and take your Easter basket with you to load up with beautiful lace's, trims, bling, flower's and so much more.
So have a lovely Sunday whatever you choose to do. Take much care and I look forward to sharing my next project in the next few weeks. :)
Showing posts with label altered art. Show all posts
Sunday, 16 April 2017
Tuesday, 14 February 2017
Shabby Diva Box by DT Member Heidi
Hello everyone, Heidi here today with my next project for Shabby is Chic Boutique on Zibbet.
This time I have altered a box and added lots of gorgeous items from the store.
With Valentine’s Day today, what better way for a girl to get her pretties on than by reaching into a lovely box to find them?
So, from Dollar Store drab to Diva dressed in lace and pearl’s. My third Shabby Is Chic Boutique DT project for February is a simple dollar tree Halloween box, that’s right Halloween box turned Diva with the addition of beautiful lace and stunning trim from Amy Love at Shabby is Chic Boutique.
The wide lace atop this box is a beautiful and delicate white mesh with satin thread embroidery in a near golden, and white colored satin thread making for beautiful vines leading to trio’s of tiny roses.
The pearl and rhinestone bling centered over flower trim really stands out and helps tie in the lovely pearl trim along the side edges of the box base.
I enjoyed making this Diva box and watching the beautiful things from SCB transform an ordinary (halloween, just had to remind you) box into a lovely piece for your prettiest things.
Happy Valentine’s day my Lovelies!
Saturday, 31 December 2016
Shabby Altered Emboridery Hoop by Kim
Hello friends, Kim here today to share my next project for Shabby is Chic Boutique on Zibbet.
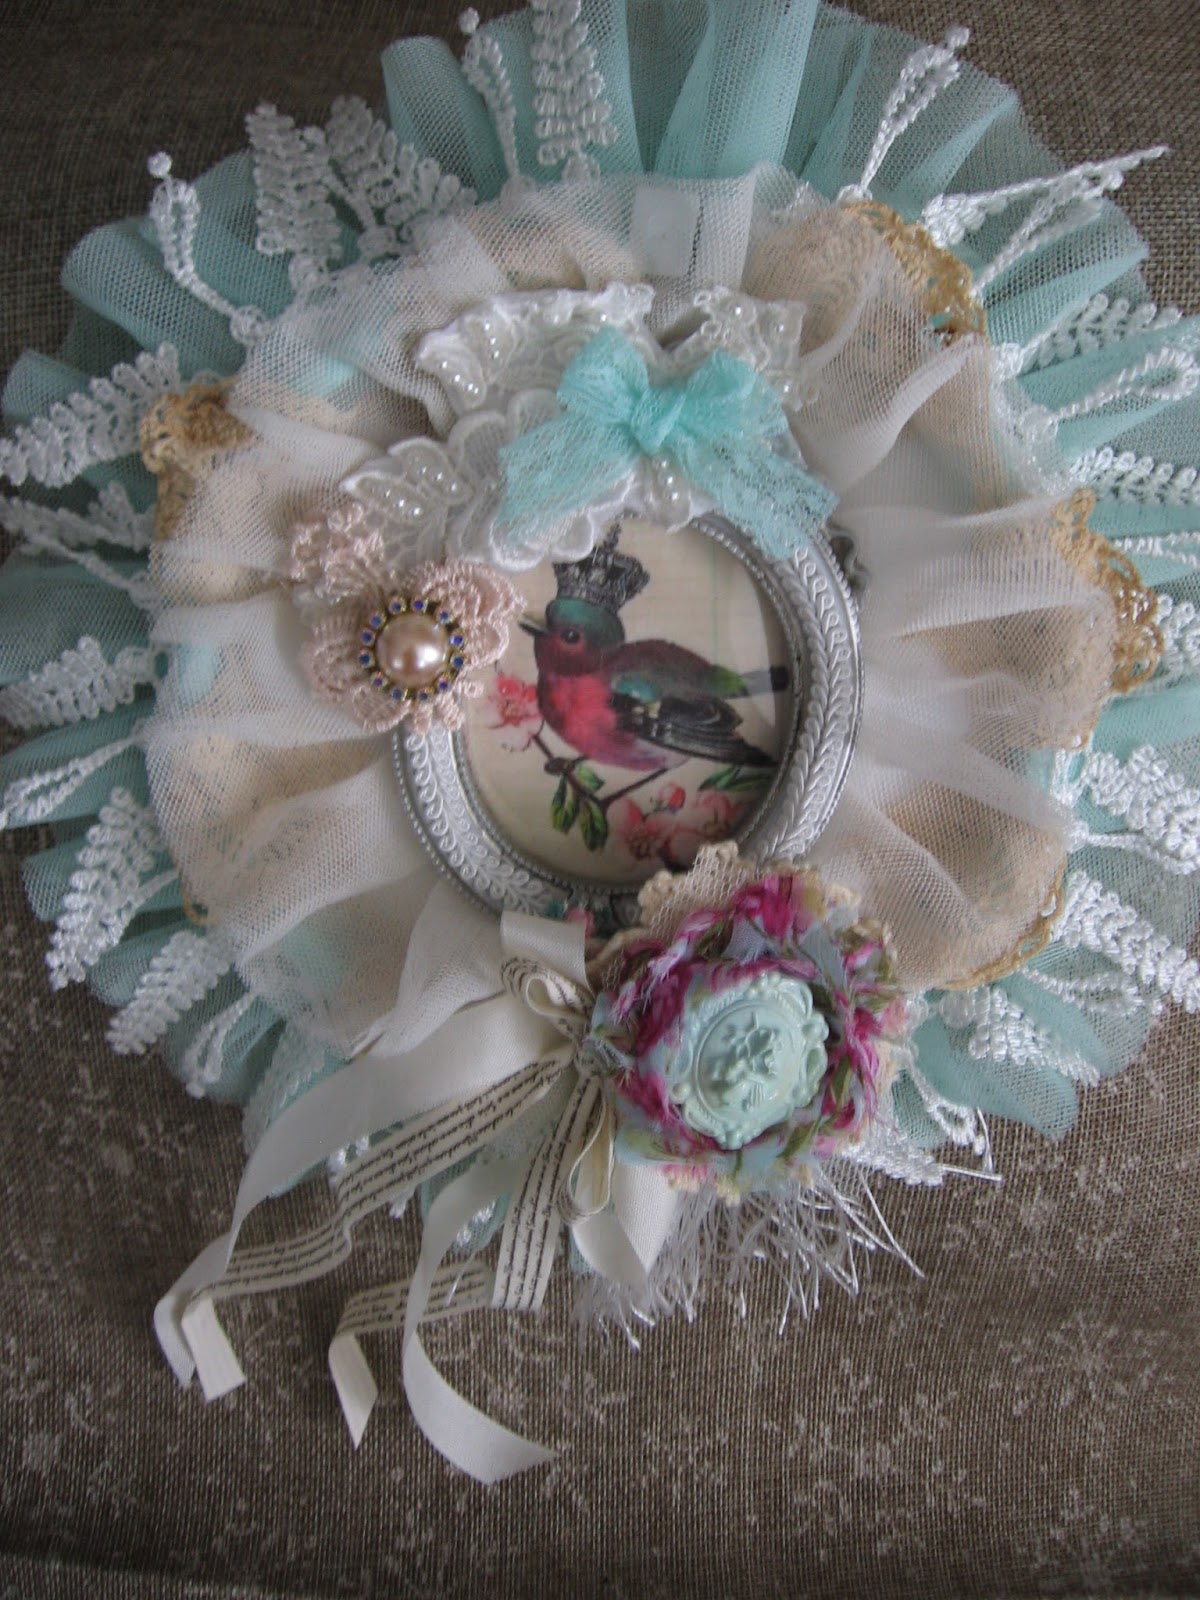
This time I have created a shabby altered embroidery hoop. I used lots of laces and trims from the SCB Store. I surrounded the hoop with some of the gorgeous aqua tulle trim. I just loves this stuff, it is probably my favorite trim in the SCB store.
I printed off the image of the bird from Pinterest, and put it inside a frame from Michaels.
I used more of the tulle trim, this time in ivory, around the frame to make the image very soft and romantic looking.
I have done a full video tutorial which you can find below here.
Thanks for stopping by today and please check out all the great items in the SCB store.
Tuesday, 29 November 2016
Shabby Chic Captured Fairy Lantern
Hello friends, Donna here today with my next Guest DT project for Shabby is Chic Boutique. This time I have created a shabby fairy lantern.
I took a galvanized lantern and removed the glass and using tin snips removed the metal snowflakes from the front. Then I spray painted the entire lantern white.
I used glue and embossing powder around the edges of the glass to give it a frosted look. Be careful embossing glass though. It gets really hot. After replacing the glass I used the different laces and pearl strands to decorate the lantern.
I used extra fine snow glitter on the foam roses to give them a glittery effect. I just painted glue on the edges and dipped them in to the glitter. I added resin snowflakes to the front with light blue flatback pearls on them.
Next I stamped the fairy on blue cardstock using white pigment ink and embossing powder. Then embossed using a heat tool and fussy cutting it out. I placed in the back of the lantern.
I then embossed a sentiment on a sheet of acetate and using glue attached to the front.
Lastly I placed glitter tulle and a battery operated candle inside.
For the handle, I wrapped braided trim around it.
All the products with the exception of snowflakes, and candle can be found in the Shabby is Chic Boutique. Make sure to head over and check out the store full of beautiful items!!
Thursday, 17 November 2016
A Little Fairy Magic by DT Member Nichola
Hello everyone, Nichola here today with my next project for Shabby is Chic Boutique on Zibbet.
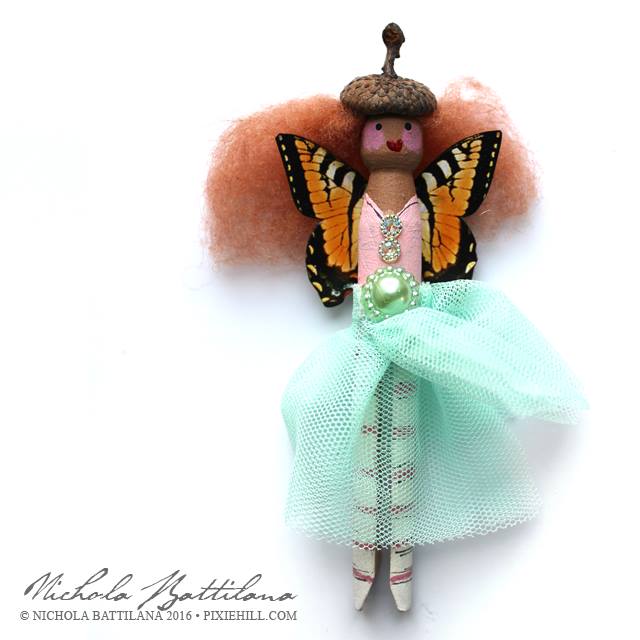
*gasps!* How cute is this years batch of peg fairies?! I made these ones with embellishments and trims from Shabby is Chic Boutique.
I'm so smitten with them. This Folded Tulle Trim is absolutely perfect for the little skirts. The little flatback pearly embellishments are also from Shabby is Chic Boutique. I didn't include them here, but these Silver Fairy Wand Charms would be a super cute addition!
I just love their floofy hair made from real wool roving.
In all different colours.
They're such happy little things.
With their acorn caps and their butterfly wings.
I hope you'll make some too!
And spread a little sweetness to those around you.
Thanks for stopping by today, and please check out Shabby is Chic Boutique on Zibbet, and for more info on this project and my other projects for SCB, please visit my blog Pixie Hill
Thursday, 20 October 2016
Shabby Chic Woodland Sleigh Kit in Pink by Amy Love
Good moring friends! Today I would like to share another take on the Shabby Chic Woodland kit.
Amy has created the sleigh kit in pink and has a full tutorial on her YouTube channel below.
Isn't it gorgeous?
The kit comes chock full of items, laces, trims, that gorgeous bird, bottle brush trees, bling and more!
You have your choice of either a white kit or a pink kit.
Here is Amy's Tutorial!
There are still a few kits available, but you must be a member of the Shabby is Chic Boutique Facebook group to get one, so hurry over and join us!
Thanks for stopping by today.
Friday, 16 September 2016
Fairy Lace Canvas by Kim Fuller
Good morning friends, and happy Friday. I am sharing today my fairy lace canvas for Shabby is Chic Boutique on Zibbet.
This is a simple and easy project to do, and it uses up lots of lace fragments from your stash. If you are like me, you have lots of left over laces from other projects, and well, also I do tend to hoard them a bit ;)
So, lets get started!
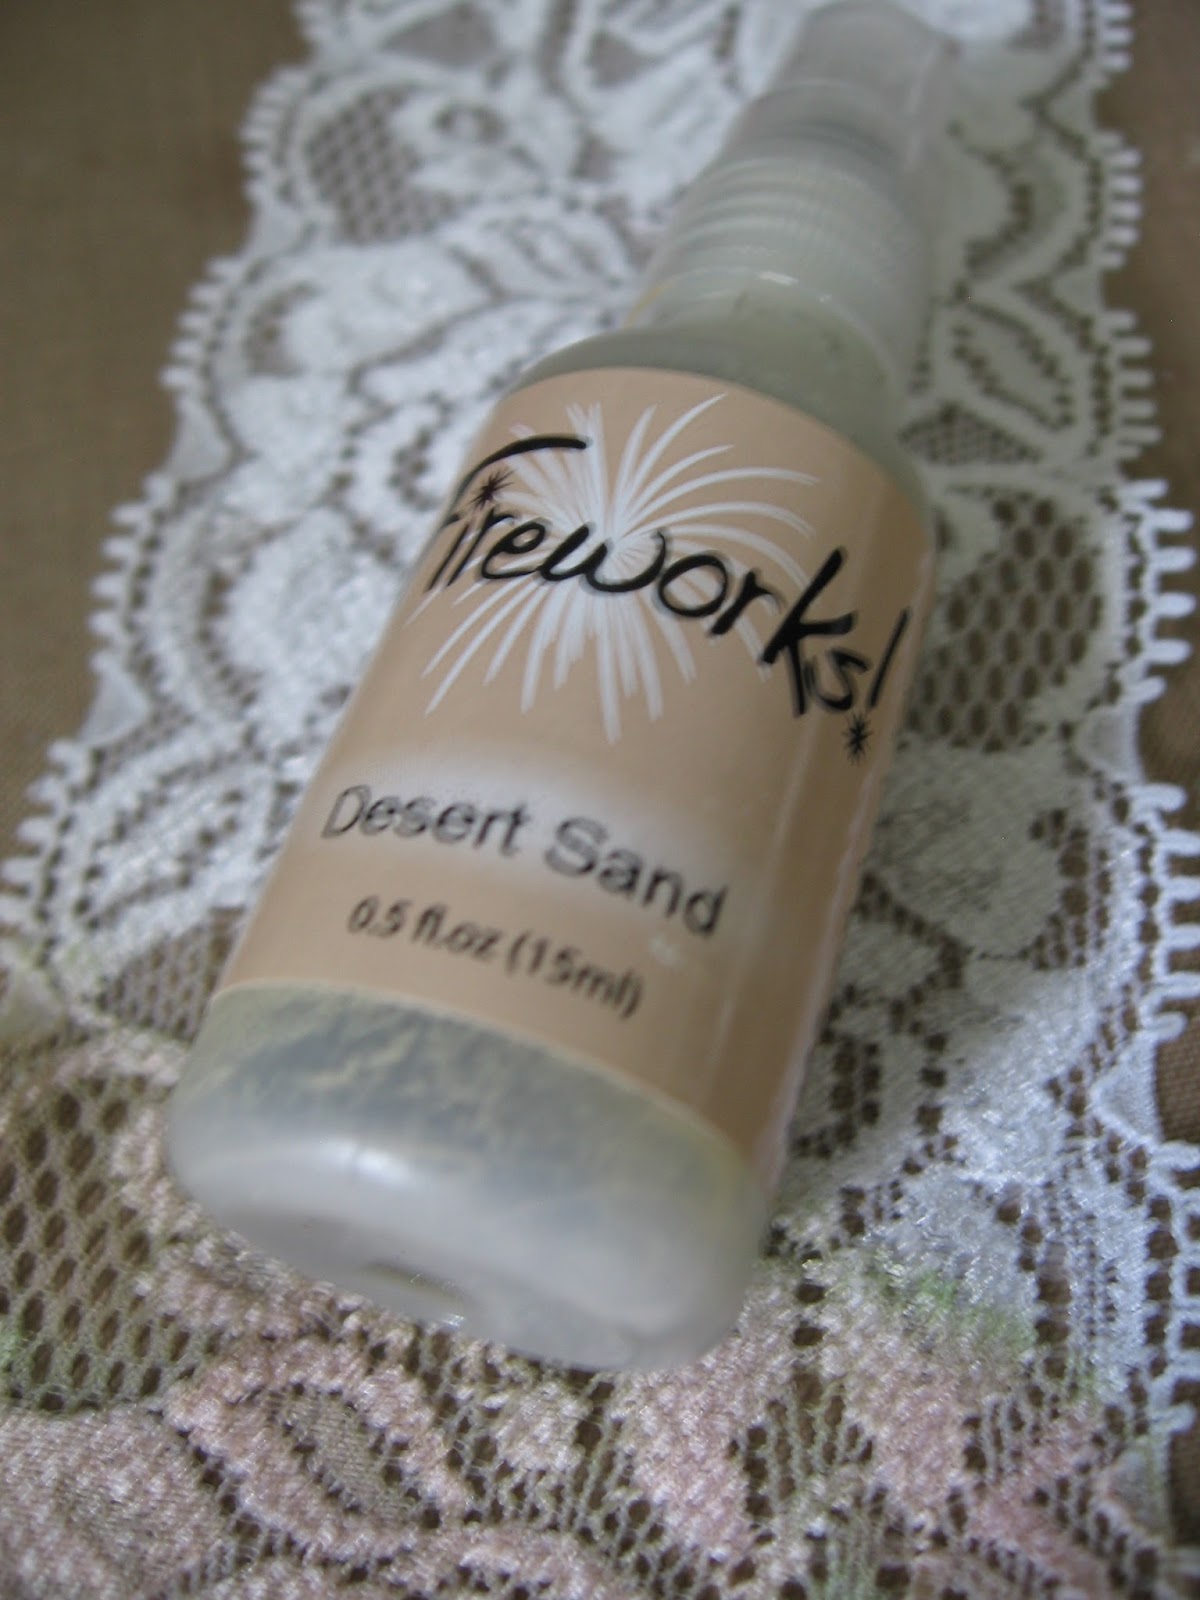
Firstly, I am using mainly laces from Shabby is Chic Boutique. This first lace in the photo below is a gorgeous two toned stretch lace, I used some of my sprays to colour the lace a similar colour to the dress that the fairy image is wearing.
I began on one side of the 5'' x 7'' canvas, and layered on one lace after another. I did not bother to cut the laces to make them even, I wanted it to have a vintage and tattered look.
I used the gorgeous butterfly dangle trim from SCB, which you can see in the photo above, and kept layering on other beautiful laces and trims, some that I sprayed and some were already the colours that I wanted. I kept layering on until I was happy with how it looked. I glued everything down with FabriTac Glue.
Once I had the rows of laces done. I used this beautiful white floral applique from SCB and placed it in the bottom right corner of the canvas.
On top of the applique, I placed this stunning pearl and bling piece also from SCB.
I then used some of my Prima Leaves, which I glittered up with silver glitter. I wanted my fairy to look magical and have some sparkle!
I used double sided foam tape on the back of my fairy. She was a free image I got from The Graphics Fairy. I used some more glue on top of the tape to make sure she was glued down well.
Once she was in place, I decided to add this amazingly beautiful pearl and bling crown from Shabby is Chic Boutique. I just adore this bling piece, it really sparkles and add dimension.
Next up I wanted to add an initial to the bottom left corner of the canvas. This canvas is going to a dear friend of mine for her birthday, and I wanted to personalize it with her initial.
I painted the wooden letter, which is from Fernli Designs.
Once the paint was dry, I added more of the silver glitter to it, to pick up on the glitter in the fairies wings.
....And here she is. I hope my friend will love her as much as I do.
I hope you will try this quick and easy project for yourself. Please remember to check out the Shabby is Chic Boutique store on Zibbet and Please join the Facebook Group HERE
Thanks for stopping by today!!
Tuesday, 6 September 2016
Altered Gift Box by GDT Jen E.
Good morning friends, Jen here today with my first Guest Design post for Shabby is Chic Boutique on Zibbet.
Today I have made a gift box.
Before assembling the box I added some light weight tissue type fabric to the side panels
Then I assembled the box...
Next, I added trims and some gorgeous lace from Shabby is Chic Boutique on Zibbet.
Lastly, the finishing and most exciting touches... the BOW and TASSLE!!
WHAT A STUNNING ACCENT!
The products from Shabby is Chic Boutique were SO much fun to play with! Why don't you go over and check them out for yourself? You just might find the piece you've been looking for to finish off your masterpiece!
Here is my video showing how I made this gift box.
Thanks for stopping by!
Encourage each other always!
xoxo JEN
Subscribe to:
Posts (Atom)