Showing posts with label metal embellishments. Show all posts

Thursday, 18 May 2017

Vintage Sewing Book by Dawn

Good morning friends, today we have the talented Dawn up with her vintage themed sewing book, using lots of items from Kraftsupplies4U.
 
Hi everyone. This is my second design team project for Kraft Supplies 4 U for May. I created a needle/sewing book using Beautiful crochet trims from ks4u. I also made a spool shaped tag with embellishments to tuck inside the pocket on the front of the book. The crochet trims made beautiful pockets for all of the goodies placed inside. Thank you for having a look and have a beautiful day!
 
 
I also made a spool shaped tag with embellishments to tuck inside the pocket on the front of the book. The crochet trims made beautiful pockets for all of the goodies placed inside.


Please check out My video below for more details!
 
 
Thank you for having a look and have a beautiful day!
 
 Please check out the Kraftsupplies4U Store today!

Wednesday, 17 May 2017

Explosion Box Mini Album by Sandi

Good morning everyone, today up on the blog we have the talented Sandi with an explosion box mini album using lots of great items from Kraftsupplies4U!
 
 
Sandi has created a beautiful project with lots of metal embellishments from out store!


The following items were used in the decorating of this Mini Album Explosion Box:
Bronze Emblem Filigree - a194
Flower Charm - a958
Bronze Filigrees - a420
Black Butterflies - a249
Black Fabric Roses - a1047
Blue Roses - a222
Black Lace b900
Please check out Sandi's video below for more details and a full tutorial!
 
 
Thanks for stopping by please check out Kraftsupplies4U Store for all the great items you see here!


Friday, 12 May 2017

Shabby Chic Tassel by DT Member Goldie

 
Hello everyone, today we have DT member Goldie up with this beautiful shabby chic tassel. She has used lots of fun items from Kraftsupplies4U.


Lots of beautiful metal embellishments adorn this gorgeous tassel!


Please check out Goldie's video for more details on this project.
 
Please check out the KS4U stores on the Web and Zibbet!


Wednesday, 10 May 2017

Altered Vintage Bottle by Dawn B.

Good morning everyone! Here is my first Guest Design Team project for Kraft Supplies 4 U.


 I altered a bottle using scraps of lace, fibers and bits from my stash. I used the beautiful petite brown trim from ks4u to create a frame around the image and also to create a flared out effect along the side of the bottle.


 I used metal embellishments to create dimension and interest. I hope you enjoy and thank you for looking. Have a wonderful day everyone!!
 
 
Thanks so much for stopping by, please check out both of the KS4U stores!


Sunday, 16 April 2017

Happy Pastel Easter

Good Sunday Morning everyone, Heidi here with my current DT project for Julie.

This month of course some prepare for the Easter Bunny, our best Sunday dress and a ham dinner. I chose instead to prepare a pastel canvas pretty using flower's, metal's and mesh bling from KS4U.


Julie has incredible items and is always adding new items fresh as a spring morning to the store front's!! So head to her .net store or her zibbet shop and take your Easter basket with you to load up with beautiful lace's, trims, bling, flower's and so much more.

So have a lovely Sunday whatever you choose to do. Take much care and I look forward to sharing my next project in the next few weeks. :)

Tuesday, 21 February 2017

Shabby Chic Clock by Sandi Nagel

Hello everyone, Sandi here with my first project for Shabby is Chic Boutique. I have a step by step instruction tutorial for you, so let's get started!


First Step is to take the clock apart, and then apply gesso on the clock surface you’ll be working with (the inside and out).  Allow the gesso to dry and apply a second coat.
Next, you will tear some strips of scrapbook paper (the thinner the sheet the better), you may also use napkins if you wish. Decoupage the torn strips on the clock. Pressing firmly with your brush, ensuring there are no air bubbles left.  For this altered clock, I chose to apply the strips sparingly, as I wanted to paint some of the surface. I painted areas with a light green chalk paint, and I painted the inside of the clock as well.
 
Once the paint was dry, I applied some white gesso sparingly on both the painted outside area, and on the decoupaged area.  Once this was dry, I sprayed several shades of glimmer mist to add some sparkle to the clock.
For the back (lid) portion of the clock, I took 2 pieces of 6x6 scrapbook paper, traced around the lid, and cut two circles.  On the circle that was to go on top, I cut a slit almost to the center, then took the edges and rolled them with a pencil.  I also distressed the edges of the circle.
I then glued the first circle down (on the part that I had applied gesso to earlier), then I glued the distressed (rolled edges) circle on top of it.  I continued to cut small strips of paper and glued them on the lid.  My last layer was a strip of Cream Crochet Trim.
I then used glossy accents to adhere the Silver Wrap Filigree on top of the trip. I also used glossy accents to adhere the flat back pearl button on top of the metal embellishment.  I applied several Mini Foam Roses and Pink Teardrop Sprays along the side, and topped it off with some paper butterflies.  I popped the lid back on the clock and began embellishing the outside.

For the outside embellishments, I begin with Cream Crochet Trim, then applied the Brown Tassel Trim on the top.  I then applied the flat-back pearl trim along the clock frame.  I also embellish the bell portions of the clock with trims and flat back pearls. I used seam-binding to make a bow and adhered it to the side.  I continued adding Mini Foam Roses, paper punched butterflies, metal embellishment, and used a Rhinestone Cameo to dress up the Rose Gold Metal Bow.
 
 
I hope you have found some inspiration here today, please check out Shabby is Chic Boutique on Zibbet.
 
You can also check out Sandi's social media sites as well.
YouTube: Decor8yourlife
Instagram: Decor8yourlife2
Twitter: Decor8yourlife2


Tuesday, 6 September 2016

Altered Gift Box by GDT Jen E.


Good morning friends, Jen here today with my first Guest Design post for Shabby is Chic Boutique on Zibbet.
Today I have made a gift box.


Before assembling the box I added some light weight tissue type fabric to the side panels
 
Then I assembled the box...
 
 
Next, I added trims and some gorgeous lace from Shabby is Chic Boutique on Zibbet.


Lastly, the finishing and most exciting touches... the BOW and TASSLE!!
 

WHAT A STUNNING ACCENT! 
 

The products from Shabby is Chic Boutique were SO much fun to play with! Why don't you go over and check them out for yourself? You just might find the piece you've been looking for to finish off your masterpiece!

Here is  my video showing how I made this gift box.

Thanks for stopping by! 

Encourage each other always! 

xoxo JEN


Thursday, 18 August 2016

Alice Inspired Wall Hanging & Heart Bow by DT Member Liza

Good morning, Liza here today with my Alice inspired wall hanging and mini heart bow, which I created for Shabby Is Chic Boutique on Facebook
 
 
I used lots of trim and laces from the store.  The pink tulle trim and dangle trim finished off the bottom of the wall hanging nicely.
 
 
I tied some of the SCB wide pink lace around the top of the hanger and added some charms and a tassel  to finish it off.

 
I also used one of the large gold metal bows in the top corner to add some bling.


I placed my image in some teacups and added a "drink me" sentiment to it as well.


Lastly, I made this cute little heart with burlap bow. I used the laces and flat back pearls from SCB, along with the burlap bow, placed on a wooden heart, which I backed with some designer paper.
 
I hope you have enjoyed my projects today, please stop by the Shabby is Chic Boutique Store on Facebook to check out the items I have used and lots more that is in stock!
Have a great day, Liza!


Friday, 12 August 2016

Altered Cigar Box by DT Member Jeanne

Hi crafty friends! Jeanne here to share with you this adorable cigar box I  created for Shabby is Chic Boutique on Facebook.
I altered this box to put some of my laces that I like to hoard!
 
  I began with white gesso all along the outer edges of the box and the entire inside. Then I painted to inside with "Craft Smart Light Pink Paint" which I let it dry and then chose the papers I wanted to use for this box.
 
 I used paper from the Recollections 12 x 12 "Budapest" collection. I really liked the pink/gold combination!  I papered the entire outside of the box with the paper. The window design on this paper remind me of windows you would see at a beautiful church or cathedral! I then decoupaged that beautiful napkin with adorable angels on the inside lid that I had received in a pocket letter from Amy Love! I used thin pink & gold ribbon to make "frame" around the picture. After letting it all dry, I sprayed the inside and the lid of the box with Lindy's "Cactus Gold" glitz spray. I then let it air dry a few hours before I began decorating the outside.


I already had in mind which laces I would use from the Shabby Is Chic Boutique. So I began by running the beautiful soft pink lace trim around the entire box. Then added some of the thin Chinese braided trim around the edge of the bottom and on the top I only added a piece along the front and on back of the box. I then adhered the adorable Rose Gold/ Rhinestone Bow from the shop as well with E6000. I added some small iridescent hearts on every other flower pattern of the pink lace, all around the box.
 

After the outside of the box was decorated, I began on the lid. I first adhered the wide flat back ivory Pearl trim from Shabby Is Chic Boutique around the top of the lid. I had a window chipboard piece  in my stash which I embossed using gold embossing powder. I then cut a small piece of pink lace and added it to the chipboard and adhered it to the center of the box. I added a cluster of paper flowers to the right corner of this window. I then added some stamens and used pieces of a rhinestone & Pearl strand for added accent. I then adhered the small white cherub to the center of the window. The final touch was a crystal knob to open the box and some wooden beads painted white  to the bottom of the box to hold it up.
 
  I hope that you will be inspired to use up those cigar boxes in your stash and use them as beautiful storage décor for your craft room.
 
Thank you for taking a look at my project today and please check out Shabby is Chic Boutique on Facebook.
 Xoxo,Jeanne


Monday, 11 July 2016

What's New In The Store!

 
Happy Monday friends! We are here once again with our new items we carry in Shabby is Chic Boutique Store on Facebook. 
We have a great new selection of laces, trims, buttons, metal and charms!
 
New French Script Grosgrain Trim
 

Ivory Flat Back Pearl Trim


Gorgeous new laces!


.....And now for our NEW metal embellishments!


Looking for some charms? We have lots to choose from!


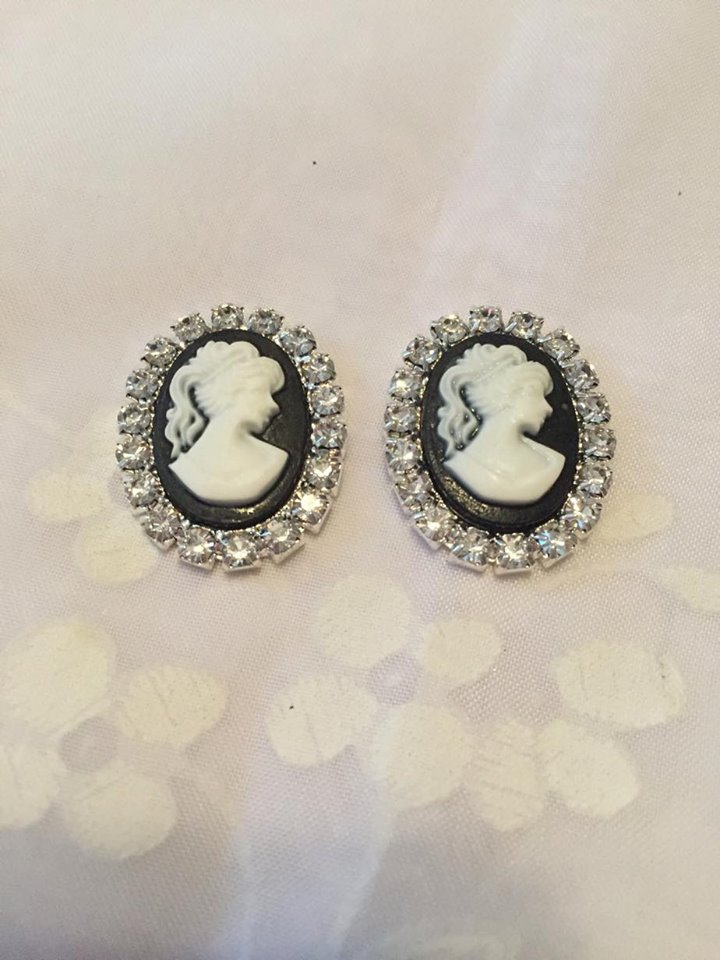
Last, but not least, check out these beautiful buttons, cameos and Pearl and Bling pieces, which are perfect for flower centers!


Thanks so much for stopping by our blog today!
Please check out these items and more in stock now at Shabby is Chic Boutique on Facebook.