Showing posts with label Zibbet Store. Show all posts

Monday, 17 April 2017

Shabby Chic Frame by DT Member Sheila

 
Good morning everyone! Today on the KS4U blog we have talented DT member Sheila with this beautiful shabby chic frame she has altered.
 
 
Beautiful trims from KS4U!


Kraftsupplies4u has a huge selection of flowers in stock now!

 
For a complete look at this lovely project, click the video link below!
 
 
Thanks for stopping by and please check out the Kraftsupplies4U stores
 

Tuesday, 28 March 2017

Shabby Shadow Box by GDT Sandi Nagel

Good morning everyone, Sandi here today with my next GDT Project for Kraftsupplies4U.
I begin with a 6 ½ x 6 ½ shadow box. I then cut 4 pieces of pretty paper according to the dimensions of the box openings, and distress them a bit with gesso around the edges.  Just a light sweep with a dry brush will do. I then use glue to adhere the paper to the openings. This will serve as the backdrop to my shadow box.
 
On the top row I adhere pink roses from the shop. The foam pink rose is secured on a metal filigree; and the metal filigree is hot-glued to the center of the paper.
 
For the lower half opening, I glued down the backdrop paper. I then cut a smaller piece to add as a frame for what I’m about to add to the lower half. This “frame” is distressed around the edges for that shabby effect. I then cut two smaller squares of paper, distress around the edges, adhere one to the “frame” at an angle, cut a piece of lace and adhere it to the square, add foam squares to the other square piece and with hot glue, adhere it on to the lace.
 
I then fussy cut a flower bush from the paper collection, score about half an inch at the bottom, fold along the score line and glue this piece to the bottom of the shadow box. I then cut a piece of applique from one of the laces and adhere that to the upper ledge so that it freely dangles over the flower bush.
 
I make a rose “vase” by wrapping a pink rose, some pink bead spray and white pearl spray, with some pink trim. I then hot glue this vase on the bottom left corner.
To adorn the edges of the shadow box, I apply several trims; and run some flat back pearls to adorn the laces. I then use a die-cut butterfly to add on top of the pink laces.
On top of the shadow box, I added a white-painted wooden filigree. I then adorned that filigree with a rhinestone crown.
 
 
At the bottom of the shadow box, I hot glued two silver-tone metal filigrees and topped them with one singular pink flower right in the middle!


Please visit my social media for more info on this project.
YouTube: Decor8yourlife
Instagram: Decor8yourlife2
Twitter: Decor8yourlife2
Blog: http://www.decor8yourlife.com/


Tuesday, 21 March 2017

Altered Gift Set by GDT Sandi Nagel

 
Hello everyone, Sandy here with my first project for Kraftsupplies4U!
For this Gift Set I altered a mailbox, a ready-made flip book, a card from my stash, and I made the tag mini album from scratch.
 
Making the tag mini album was super easy. Because I left the inside of the mailbox untouched, I chose cardstock in craft color. I cut several tags down to size, ensuring they would fit inside the mailbox, and I used a lace paper punch on every other page and a corner punch in the pages in between. The larger tags were decorated using appliques and trims from the shop. This makes for a pretty presentation and it leaves room for pictures. To hold the tags in place, I punched a hole through one corner of each tag and ran a trim through it. For the front and back covers of the tags, I used Gesso around the ends to give them that shabby appearance. Then decorated front and back with laces, trims and sprays from the KS4U.
 
 
Altering the card was super easy as well. I used the same paper line I used on the rest of the items in my project, to cover up the front of the card. Then I went on to layering coordinating cardstock with trims from the shop. I used a metal piece at the center to accentuate the trims.  
Altering the ready-made flip book was fun too! I removed the pages from inside the album. I then took some white card stock (to match the white cover of the album) and proceeded in cutting down papers that were to become the waterfall. I covered the waterfall with pretty scrapbook paper, used a paper punch on the bottom of each flap and was done. For the pocket, I used a pocket die, glued the die cut to the inside cover, cut a couple of pieces of paper for tags, and the inside was done! I glued scrapbook paper to the front and back covers and spine. Then I proceeded to decorate the waterfall mini album with trims, laces and other items from KS4U.
 
The cute mailbox that houses the tag mini album is also another altered project. I used coordinating paper to cover the mailbox on all sides. I used Gesso around the edges to make it look shabby and to cover up the craft color from the box. I then proceeded to add trims and laces and bling from the shop.
 
This was a fun project that can be done in a course of a weekend. Altering items with pretty papers, laces, trims and other items from the shop ensure that your results will be spectacular!
 
Thanks for stopping by today, please visit KS4U stores and FB Group


Wednesday, 15 March 2017

Welcome to Kraftsupplies4U!!

 
Welcome everyone to the NEW Kraftsupplies4U Blog!
 
We are so excited to be here, and our designers are ready to get going and create some new projects for you!

Amy Love, the Owner of Shabby is Chic Boutique, has sold her inventory to Julie McDonald the owner of Kraftsupplies4U, in that sale, it included this blog.  Which now will be the home of Kraftsupplies4U and its designers. Amy has done a video explaining this further which you can view below.


Just to familiarize yourself with our shops, we have posted links to both of our stores on the right hand side of the page. We have both a web store and a Zibbet store. We will be posting some sneak peeks of our items in the coming weeks for you to see.
 
In the mean time we have two coupon codes for each of our stores, just follow the links below to start your savings!


We are thrilled to be entering the blogosphere and extending our range to reach more people and share our Design Team's talents with everyone.


Please stay tuned in the coming days for posts from Kim and Heidi who will be running our blog, and please click on our design team photos on the right hand side to follow them on their social media!
Thanks for stopping by!


Tuesday, 7 March 2017

Shabby Elegant Angel Wall Hanging by GDT Dawn

Hi everyone, it's Dawn here with my first guest design team project for Shabby is Chic Boutique on Zibbet.


 I was inspired by this angel image to create a tattered wall hanging. I used the beautiful butterfly lace,trim and bling from Shabby is Chic Boutique to give this piece a beautiful elegance amidst the tattered remnant pieces from my stash.


 Please check out Shabby is Chic Boutique on Zibbet for beautiful products for your next project!
Thank you so much for having a look!!


Monday, 6 March 2017

Shabby Owl Tag by Kim

Good morning friends, Kim here today with my next project for Shabby is Chic Boutique on Zibbet.
This time I have altered a large tag using a gorgeous napkin gifted to me by my friend Amy Love.
 
 
I first started off by giving the tag a coat of gesso on both sides. Then I cut the napkin to fit, and gave it a coat of Sparkle Mod Podge.


I used some Prima Art Alchemy Paint in rose gold and aqua rose around the image of the owl, then got out my script stamp and Stayzon Ink and stamped around the image as well.
 
 
After the ink and Prima Art Alchemy Paints were dry, I also some Prima Bloom spray, in soft teal around the image.

 
Once the sprays were dry, it was time to get out some gorgeous laces from SCB! I layered on the white and teal tulle trim first at the base of the tag, then some of the scallop trim, mini fringe and finally the gorgeous white and sequin trim at the top.
 
 
For the top of the tag, I used 2 of the larger scallops from the scallop trim, and placed a blue acrylic flower with bling in each of them to pick up on the colour of the seam binding I placed thru the hole of the tag.
 
 
At this point, I got out the Deco Fun Bow maker, which SCB now carries, and used it to make an easy but elegant bow for the base of the tag. I used the script trim from SCB, and one of the smaller laces from Deco Fun to make the bow.


Once the bow was made, I added some of the new Square Bling from SCB to the center to give it some sparkle and shine! I also added some flowers from my stash in matching colours to add softness to the tag.


 A finishing touch was some teal sequins from my stash for more sparkle.


Once again, here is the finished tag.

 
I hope you will stop by the Shabby is Chic Boutique Store today and make one of these tags yourself, they are really fun to make!
Thanks for stopping by!


Monday, 27 February 2017

Shabby Chic Doily Wall Hanging by Special Designer Maggie White

Hi everyone, Maggie here with my design team project for Shabby is Chic Boutique on Zibbet, the end of February. 


 I want to share my Shabby Chic Wall Hanging.  I was inspired by the lovely vintage image I chose to use.  As you can see I embellished it with SCB's beautiful laces and appliques. 
 
 
Please also check out my video I have done on my YouTube Channel with my project.
 
 Please check out the Shabby is Chic Boutique shop on Zibbet to see the new products that arrive weekly.
 
Thanks for stopping by!

Tuesday, 21 February 2017

Magical Unicorn Carousel by Betty A.

Good morning everyone, Betty here today with my next project for Shabby is Chic Boutique on Zibbet.
 
This truly was a fun project to create. What better way to show case Shabby Chic trims from Amy's store than a shabby carousel featuring the trendy unicorns. I have created a short video to show how the carousel works!


I started out using 2 styro foam round disc measuring 1-3/16in x 8-7/8 inches for the center measuring 7-5/8 in. Using my Cricut, I cut out a 10 inch circle for the roof of the carousel. After covering the paper towel roll, attach it to the bottom and the top of the styro foam base.


  Lastly, glue on the roof for the carousel.
Oh and I can't forget that I used a 7inch Turntable to make it move!
 
 
I used an array of trims from the SCB store, and I hope you will pop over to the Zibbet Shop and get some for yourself.
 
I hope you have found some inspiration here today!
Thanks for stopping by, have a magical day!


Tuesday, 7 February 2017

Shabby Loaded Envelope by GDT Betty

 
Hello, Betty here today and I'm super excited to share my first GDT project for Shabby is Chic Boutique on Zibbet. Loaded envelopes are all the rage right now. So, I decided to create my very first shabby chic loaded envelope!
 
 
The base of my loaded envelope came from a 9 3/4 by 12 1/4 photo document mailer. It is perfect because it is very sturdy and you can really stuff it with goodies. This is an awesome alternative for creating the LE. My creative process was simple. I just cut off the flap of the mailer and started the magic.


The designer paper I used is called Bella Rose. Next, I used the beautiful embroidered sequined trim for the front fold down design. I used the mini foam rose that I painted with a light pink acrylic paint followed by Martha Stewart glitter. The foam rose is accented with pieces from the embroidered mesh with hearts.
 
I also used the pink tulle trim and the heart trim from Shabby is Chic Boutique, for the back pocket of the LE.


I also used the folded tulle pink trim layered with the heart trim for the two front pockets. Lastly, I used the embroidered sequined trim at the bottom of the LE and on the back.
 
 
Thank you I had so much fun creating my first loaded envelope!


Wednesday, 25 January 2017

Shabby Chic Butterfly Wall Hanging by Kim


Good morning friends, Kim here today with my next project for Shabby is Chic Boutique on Zibbet.
This time I have altered a Kaisercraft piece, that is a wooden fence and butterfly.
 
 
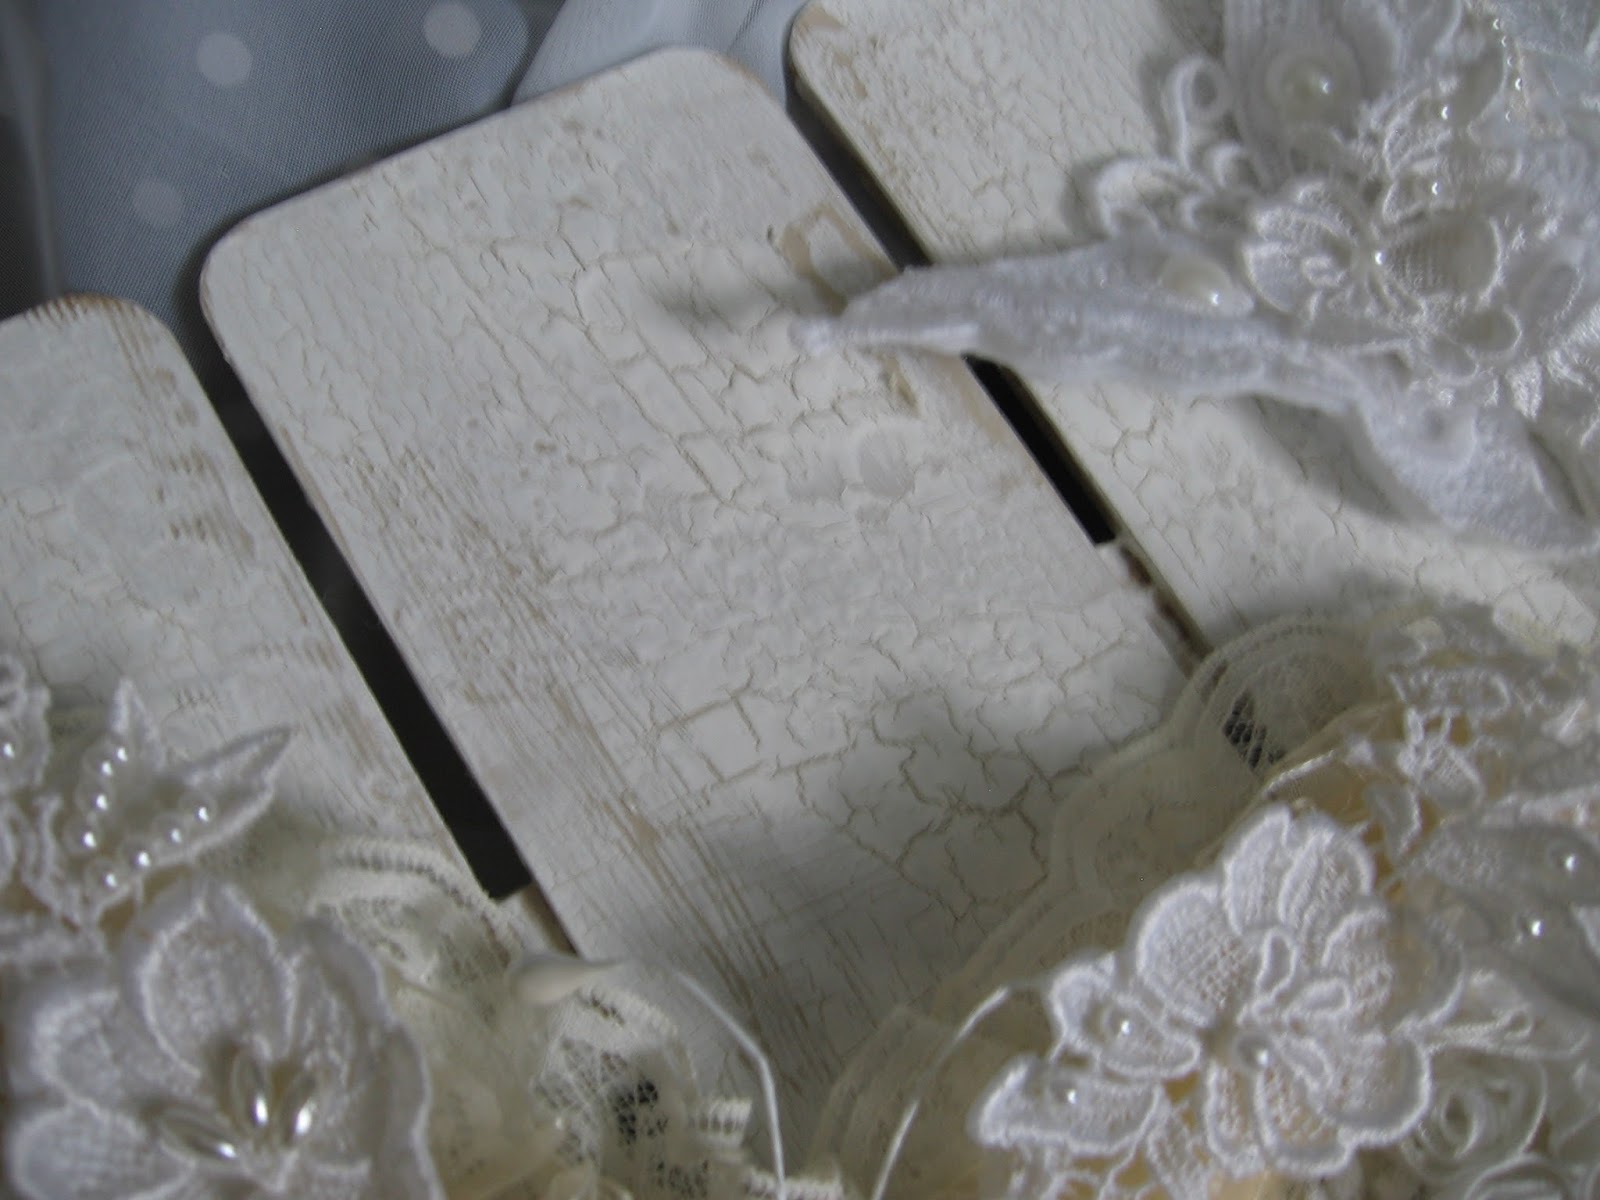
The first thing I did to this project was give it a coat of gesso, then a coat of Martha Stewart Putty. After the paint was dry, I used some crackle medium on top and then finally a coat of white paint to make it crackle.  I then used my Prima distress tool over top of that, to give it a worn and vintage look.
 
 
Once I was finished distressing the fence, it was time to layer on the laces. I started with some of the gorgeous fringe trim from SCB at the bottom. Then layered on some vintage laces from my stash until I was happy with it.


I also needed to alter the wooden butterfly that came with the fence. I used material first on the butterfly then layered on some laces and trims from SCB.  For the center of the butterfly, I used a large rosette trim piece and a gorgeous piece of bling that was gifted to me.


I also added some  fibers and seam binding from SCB, and flat back pearl to the center of the bow.
 
 
This smaller butterfly is from my stash, and I back it with felt to make it stand up on the fence, and added some flat back pearls and vintage bridal trim to it to finish it off.
 
 
I added more laces and topped them off with some of the gorgeous bling you can find in the SCB Store!


I added some vintage pearls from my stash to add texture and dimension to the piece.


And once again here is the final look!
 
Thank you so much for stopping by!

Sunday, 15 January 2017

Shabby Wall Hanging by DT Member Goldie

Hi everyone Goldie here today and I am sharing my wall hanging I have created for Shabby is Chic Boutique on Zibbet. I love how sweet this turned out.
 
 
 I used lots of Shabby Is Chic Boutique laces and trims from my design team package as well as a few from my own personal Shabby Is Chic Boutique stash. I also used a piece of fabric from my own stash as well. 
 
 
I started with a large piece of heavy duty chipboard which I cut down to 8" x 10". I covered both sides of the chipboard with some lightweight quilt batting, then covered both sides with some off white muslin. This makes a sturdy base to work with for adding laces and trims. I covered just the front side with that delicate pretty pink fabric from my stash. Everything in this project was adhered with Fabri-Tac or hot glue.
 

As you can see from the photos I have lots of layers going on from the top to the bottom and along the edges as well. Those cute little pink clay flowers I could swear I ordered from Shabby Is Chic Boutique back when it was just a Facebook page. (?Am I right or wrong Amy?)


I don't remember where I found this image so whoever you are that made this, thank you! It's brilliant and please know that it is being used only for this wall hanging which will be hanging in my craftroom.


The image has two layers of quilt batting behind it for maximum "puffy" effect, and was framed with a narrow trim from my stash. To finish the image area, I added a piece of Shabby Is Chic Boutique 3 mm Rhinestone Chain to the dot of the 'I' in the word witch. I used one of the gorgeous Pearl and Rhinestone Crowns from my Shabby Is Chic Boutique stash and added a tiny seam binding bow from which I hung a Witch Hat Charm from SCB. I also added two of the "drops" from the Pink Teardrop Sprays for added dangle cuteness, these little goodies are absolutely multifunctional. I also used individual pieces of SBC's amazing 3 mm Rhinestone Chain to add serious sparkle at the bottom. I put one piece on each of the White Tassel Trim dangles. 
 

For the bow, I used all things SBC, such as seam binding, tiny pearl strands and other various narrow trims. I tied this shabby bow by hand. I'm not thrilled with it, but that's okay, it's supposed to be shabby right? I used a Silver Wrap Filigree from SBC which I painted off white then added a Rhinestone Heart from my SBC stash to finish it off.  Also to finish the entire piece I added my label to the back. (The odd color on my label is just from the wet glue. It's clear and looks normal when dry.)
 
Thanks so much for stopping by today, please check out my video below.


Beautiful I think.
xoxo ~ Goldie