Showing posts with label Kim Fuller. Show all posts

Tuesday, 4 July 2017

Blue and Lavender Fairy Magic Wall Hanging

Good morning friends! I have a magical project for you today.
I have hand dyed lots of laces from KS4U, and created this colourful wall hanging.
 
 
KS4U also has a sale going on right now!
 
 Here are a few more photos of my project.


Please check out my video below for more details!
 
 
Thanks for stopping by, please check out Kraftsupplies4U Store
Thanks!

Tuesday, 13 June 2017

Shabby Blue and Cream Fabric Book by Kim

 
Good morning everyone, Kim here today with my next dt project for KS4U.  This time I have created a shabby blue and cream fabric book. I have used some Dylon fabric dye to get this beautiful "china blue" colour. 


I have a video below with lots of photos and more information for you to check out.
 
 
Thanks for stopping by, please check out KS4U store!
 

Saturday, 13 May 2017

Shabby Chic Marie Antionette Wall Hanging by Kim

Good morning everyone, Kim here today with my next DT project for Kraftsupplies4U.
 
I have created this shabby chic Marie Antoinette wall hanging with lots of laces and trims from KS4U.
 
 
I have loaded up this wall hanging with some of the beautiful dangle trims from the KS4U store.


Metal bow embellishment adds interest and dimension.


I made some hand rolled roses with some vintage bridal dress satin, and mixed in with them are some of the pretty little organza ribbon roses from KS4U.

 
I also added this cute little butterfly from KS4U.


Please check out my video for more details.
 
Please visit the KS4U Stores and Facebook Group


Monday, 6 March 2017

Shabby Owl Tag by Kim

Good morning friends, Kim here today with my next project for Shabby is Chic Boutique on Zibbet.
This time I have altered a large tag using a gorgeous napkin gifted to me by my friend Amy Love.
 
 
I first started off by giving the tag a coat of gesso on both sides. Then I cut the napkin to fit, and gave it a coat of Sparkle Mod Podge.


I used some Prima Art Alchemy Paint in rose gold and aqua rose around the image of the owl, then got out my script stamp and Stayzon Ink and stamped around the image as well.
 
 
After the ink and Prima Art Alchemy Paints were dry, I also some Prima Bloom spray, in soft teal around the image.

 
Once the sprays were dry, it was time to get out some gorgeous laces from SCB! I layered on the white and teal tulle trim first at the base of the tag, then some of the scallop trim, mini fringe and finally the gorgeous white and sequin trim at the top.
 
 
For the top of the tag, I used 2 of the larger scallops from the scallop trim, and placed a blue acrylic flower with bling in each of them to pick up on the colour of the seam binding I placed thru the hole of the tag.
 
 
At this point, I got out the Deco Fun Bow maker, which SCB now carries, and used it to make an easy but elegant bow for the base of the tag. I used the script trim from SCB, and one of the smaller laces from Deco Fun to make the bow.


Once the bow was made, I added some of the new Square Bling from SCB to the center to give it some sparkle and shine! I also added some flowers from my stash in matching colours to add softness to the tag.


 A finishing touch was some teal sequins from my stash for more sparkle.


Once again, here is the finished tag.

 
I hope you will stop by the Shabby is Chic Boutique Store today and make one of these tags yourself, they are really fun to make!
Thanks for stopping by!


Wednesday, 25 January 2017

Shabby Chic Butterfly Wall Hanging by Kim


Good morning friends, Kim here today with my next project for Shabby is Chic Boutique on Zibbet.
This time I have altered a Kaisercraft piece, that is a wooden fence and butterfly.
 
 
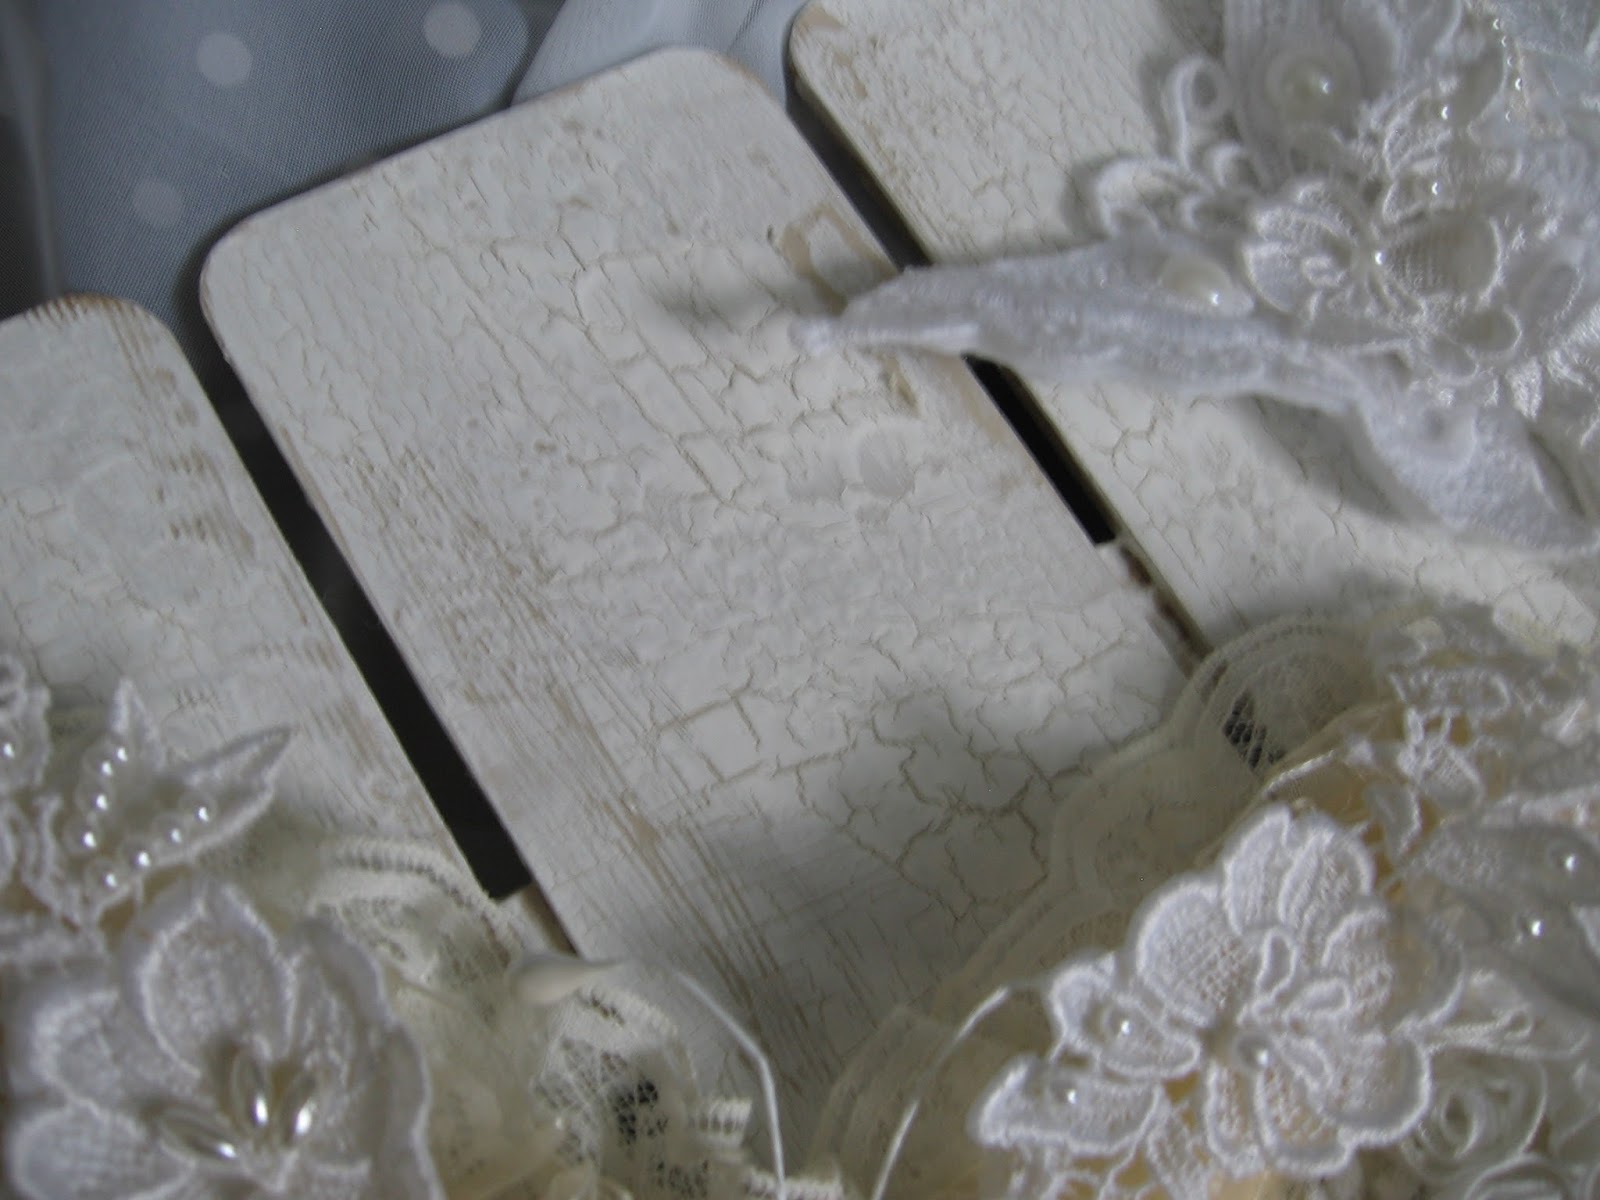
The first thing I did to this project was give it a coat of gesso, then a coat of Martha Stewart Putty. After the paint was dry, I used some crackle medium on top and then finally a coat of white paint to make it crackle.  I then used my Prima distress tool over top of that, to give it a worn and vintage look.
 
 
Once I was finished distressing the fence, it was time to layer on the laces. I started with some of the gorgeous fringe trim from SCB at the bottom. Then layered on some vintage laces from my stash until I was happy with it.


I also needed to alter the wooden butterfly that came with the fence. I used material first on the butterfly then layered on some laces and trims from SCB.  For the center of the butterfly, I used a large rosette trim piece and a gorgeous piece of bling that was gifted to me.


I also added some  fibers and seam binding from SCB, and flat back pearl to the center of the bow.
 
 
This smaller butterfly is from my stash, and I back it with felt to make it stand up on the fence, and added some flat back pearls and vintage bridal trim to it to finish it off.
 
 
I added more laces and topped them off with some of the gorgeous bling you can find in the SCB Store!


I added some vintage pearls from my stash to add texture and dimension to the piece.


And once again here is the final look!
 
Thank you so much for stopping by!

Monday, 9 January 2017

No Sew Pretty Girl Pillow by Kim

Good morning Shabby is Chic Boutique Fans! I have a fun and easy project here today for you today.
 
 
I have created this no sew pillow with some fabric from my stash and lots of laces and trims from Shabby is Chic Boutique. But the gorgeous girl in the center is really the star of the show. I used this Pretty Girl Applique from SCB.
 
 
I surrounded the girl with this pretty rose trim from SCB, which goes all the way around her to frame her nicely.


I created a rolled rose out of some sheer fabric I had in my stash, and added a pearl and rhinestone bling to the center. I added this to her hair for some fun and dimension.

 
I used Fabri-Tac Glue to make my pillow square and then added lace fabric from my stash to cover the pillow.


I just love this Pretty Girl Applique from SCB!! I have to get more, as I have a few friends who would like this pillow as well, but I think she would also be great on a T-shirt, apron, wall hanging, or even a tote bag. She would be versatile for so many  projects.

 
I hope you have found some inspiration here today, and will pop over to the Shabby is Chic Boutique Store on Zibbet to get your own Pretty Girl Applique!


Saturday, 31 December 2016

Shabby Altered Emboridery Hoop by Kim

 
Hello friends, Kim here today to share my next project for Shabby is Chic Boutique on Zibbet.


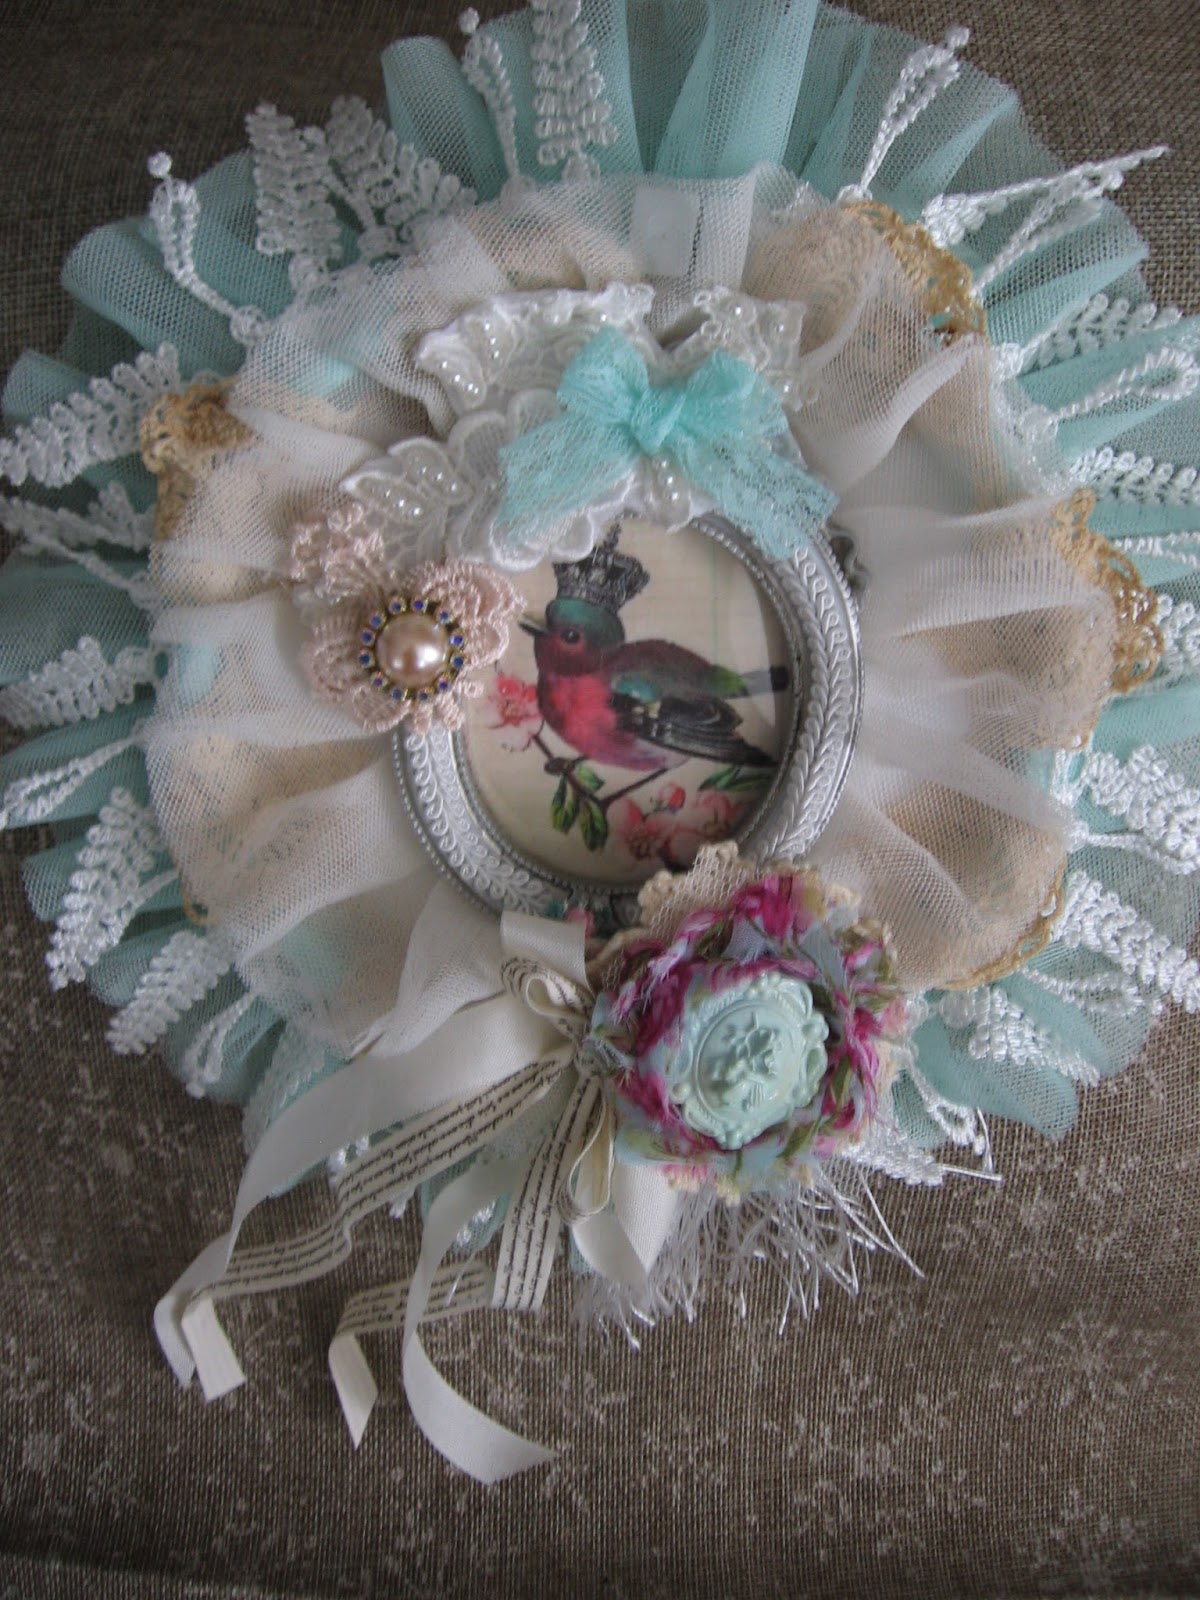
This time I have created a shabby altered embroidery hoop. I used lots of laces and trims from the SCB Store. I surrounded the hoop with some of the gorgeous aqua tulle trim. I just loves this stuff, it is probably my favorite trim in the SCB store.

 
I printed off the image of the bird from Pinterest, and put it inside a frame from Michaels.

 
I used more of the tulle trim, this time in ivory, around the frame to make the image very soft and romantic looking.

 
I have done a full video tutorial which you can find below here.
Thanks for stopping by today and please check out all the great items in the SCB store.