Tuesday 27 September 2016

Shabby Altered Cuff by DT Member Maggie White

Good morning friends, Maggie here today with my next DT project for Shabby is Chic Boutique on Zibbet.


This is a gold metal cuff bracelet that I adhered the embroidered tulle trim to the base.  I then added the embroidered white rose lace trim to the top and bottom of the cuff.  I then glued the white shell trim to the sides and then finished the sides with the white braided trim.

 
       I then added three small doily pieces to the front and glued the gold flower flat backs on top of   each doily piece.  Lastly, I added a rhinestone to each of the roses on the trim as well as the shell trim on the sides.
 
 
Inside of cuff I added a piece of beige felt to finish off the piece.
 
Thanks so much for stopping by today. I hope you have found some inspiration and will try this fun project yourself.
Please check out all the great items at the Shabby is Chic Boutique Store on Zibbet!


Thursday 22 September 2016

Shabby Altered Cigar Box by GDT Mimi C.

Happy Thursday Everyone!  Mimi here and  I am back to share with you all my 2nd and last GDT project for Shabby is Chic Boutique.
 
 
For this project, I decided to alter a cigar box that I've had in my stash for quite some time.  And what a transformation it has taken!  I finally was able to use Prima's "Tales of You and Me" collection to cover my entire box after sanding, painting, & inking all the edges.  Then came the fun part...using all the beautiful trims, laces, and embellishments from SCB!  On the top of the cigar box, I first laid down some of the clustered rose embroidered trim on the top and bottom to give the box somewhat of a frame and a base to layer my 2 flower clusters in the top left corner and bottom right corner of the lid. 
 
 
 The main focal piece in the top left corner flower cluster is one of the beautiful foam roses in ivory.  I also incorporated a piece of the butterfly dangle lace in the other cluster to give it a bit more interest.  As you can see, there is a abundance of flowers on this project which went perfectly with the clustered rose embroidered lace from SCB.  I did add stickles to all the flowers to give it more sparkle as well as add an ornate frame toward the upper portion of the lid that has been spray painted in gold to match the gold in all the hardware. 


Right below the edge of the lid, there is almost a perfect 4mm slant (about a 45 degree angle) that I added the 4mm pink flatback pearl trim to and goes around the entire top of the box.  I then adhered the folded tulle trim in white along the lid on 3 sides, excluding the back, with the white flatback 5-row strand acrylic trim on top. 


The 5-row flatback acrylic trim is only adhered to the 2 sides of the lid so that the lace would lay flatter on top of the latch hardware on the front side of the box.  I love how the folded tulle trim makes the altered box look so soft and feminine.


 I hope you all enjoy what I have created and don't forget to head over to Shabby is Chic Boutique on Zibbet to grab some of these beautiful trims, laces, & embellishments for your next crafty project!
 
Products Used From SCB:
  • Foam Roses in Ivory
  • 4mm Flatback Pearl Trim - Pink
  • Folded Tulle Trim in White
  • Butterfly Dangle Lace
  • Clustered Rose Embroidered Lace
  • White Flatback 5-Row Strand Acrylic Trim


Tuesday 20 September 2016

Shabby Cards by GDT Jen E.


Hey crafters! It's me Jen Evers with another Shabby is Chic Boutique blog post! Only this time, I decided to do my style of shabby on 3 cards!
 

On this stunning card I included laces, trims and some flat back pearls. The pearls are purple and match the card because I colored them with my spectrum noir markers! Isn't it COOL that you can buy from the boutique in white and change it to any color you want to match your design?!!! I love the Shabby Chic's selection!!


 My second card even includes some metal pieces, trims and some embossing to seal the deal. I just adore the white on white look of the paper and the laces! (I took this one to work and someone bought it on the spot!) You can jazz up your custom creations with style from the Boutique. Go check it out!!


My 3rd and final card is actually made with the baggie my goodies from Shabby is Chic Design team goodies came in. I know!! Creative and practical huh?!


This is my farewell as it's my last post as a guest designer for September. Keep crafting on, and don't forget to shop at the Shabby is Chic Boutique!!

Please check out my YouTube video for more on my cards I have created!

 
xoxo
JEN


Friday 16 September 2016

Fairy Lace Canvas by Kim Fuller

Good morning friends, and happy Friday. I am sharing today my fairy lace canvas for Shabby is Chic Boutique on Zibbet.
 
 
This is a simple and easy project to do, and it uses up lots of lace fragments from your stash. If you are like me, you have lots of left over laces from other projects, and well, also I do tend to hoard them a bit ;)
 
So, lets get started!
 
Firstly, I am using mainly laces from 
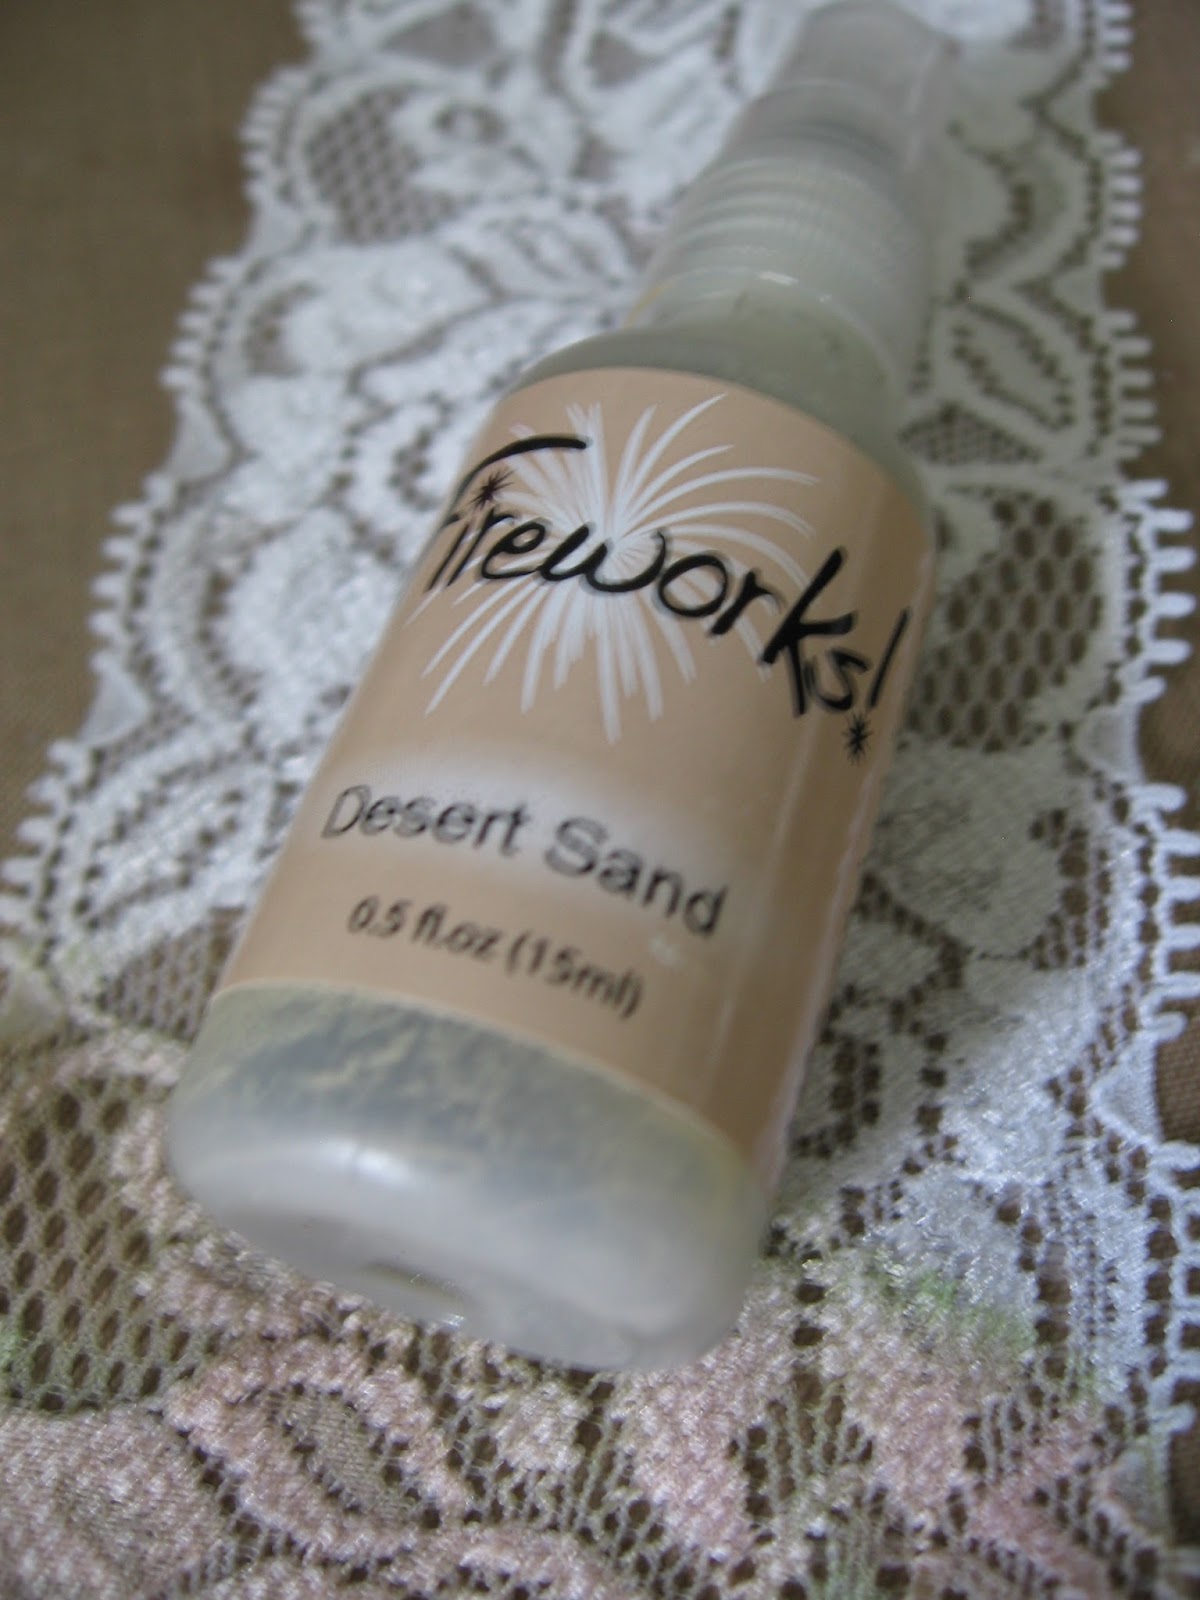
Shabby is Chic Boutique. This first lace in the photo below is a gorgeous two toned stretch lace, I used some of my sprays to colour the lace a similar colour to the dress that the fairy image is wearing.
 
 
I began on one side of the 5'' x 7'' canvas, and layered on one lace after another. I did not bother to cut the laces to make them even, I wanted it to have a vintage and tattered look.
 
 
I used the gorgeous butterfly dangle trim from SCB, which you can see in the photo above, and kept layering on other beautiful laces and trims, some that I sprayed and some were already the colours that I wanted. I kept layering on until I was happy with how it looked. I glued everything down with FabriTac Glue.


Once I had the rows of laces done. I used this beautiful white floral applique from SCB and placed it in the bottom right corner of the canvas.


On top of the applique, I placed this stunning pearl and bling piece also from SCB.
 
 
I then used some of my Prima Leaves, which I glittered up with silver glitter. I wanted my fairy to look magical and have some sparkle!


I used double sided foam tape on the back of my fairy. She was a free image I got from The Graphics Fairy.  I used some more glue on top of the tape to make sure she was glued down well.


Once she was in place, I decided to add this amazingly beautiful pearl and bling crown from Shabby is Chic Boutique. I just adore this bling piece, it really sparkles and add dimension.


Next up I wanted to add an initial to the bottom left corner of the canvas. This canvas is going to a dear friend of mine for her birthday, and I wanted to personalize it with her initial.
I painted the wooden letter, which is from Fernli Designs.


Once the paint was dry, I added more of the silver glitter to it, to pick up on the glitter in the fairies wings.


....And here she is. I hope my friend will love her as much as I do.
 
 
I hope you will try this quick and easy project for yourself. Please remember to check out the Shabby is Chic Boutique store on Zibbet and Please join the Facebook Group HERE
Thanks for stopping by today!!


Thursday 15 September 2016

"Victorian Embroidery Hoop"

Hi friends!! Jeanne here again to share with you my design team project for the month of September 2016! I had this embroidery hoop in my stash, I orignally was waiting to come across some other ones in different sizes so I could do a larger hanging piece for my living room area. But decide to just go ahead and alter this one.


 I was anxious to use the beautiful cotton trim for my background, so I just hot glued it along the edge of the hoop, then placed the other piece on top to secure it and cut off the remnants that were left.


I then added the beauiful ruffled lace in the soft mint color from Shabby Is Chic Boutique on Zibbet around the diameter of the loop leaving a 1/2 in. opening on the top for embellishment purpose later on.
On the front of the loop is where I decided to create my design, this way it can be hung on a wall on from the back end of the loop.
I began with the braided trim in white from SCB, I only adhered it to the right half of the loop because on the other end I ended up using the beautiful rose colored fabric roses from the store as well. After I did that I adhered some white organza/rhinestone flowers that I had in my stash. I then decided to use one of the rose cameo from SCB, I adhered it to a metal frame charm from my stash and cut a rhinestone from the pearl and rhinestone mesh trim from the shop as well, I adhered it to the top of the small metal frame. I then cut some cardboard to ahere it to the back of the image I wanted to use. I enjoy making my own frames out of thin laces,  trims, etc. After I adhered it, I cut some of the cotton heart trim from the shop , I colored it with my Victorian Velvet Distress ink. I let it air dry then ahered that to look like a frame for this beautiful picture. I decided to use on of the large butterfly appliques' from the shop as well and added some of the same rhinestone/pearl mesh trim to the center of the butterfly. Lastly I added some darker teal beads and light pink pearl beads to certain areas of the flowers. I love how it turned out! Plus it didn't take very long to make.
I hope that you like what I have created and use up your embroidered hoops, they make beautiful home decor!


Thank you for taking the time to check out my project. I look forward to later in the month to share with you the project that i'm working on right now! ~Hugs~ Jeanne Rodriguez 

Tuesday 13 September 2016

Fabric Image Folder by DT Member Maggie White

 
Good morning, Maggie here today to share with you my next DT project for Shabby is Chic Boutique on Zibbet.
 
This time I have made a Fabric Image Folder
 
 
First,  I covered the front and back of the fabric folder with a piece of Victorian Pink embroidered fabric.  I added the heart dangle trim to the bottom. (I cut the top off of the dangle trim so just the heart shapes were at the top) I then added the embroidered white rose lace around the top and sides.
 
I took pieces of the rhinestone chain and added one to each rose in the trim as well as one in the middle of each heart on the dangle trim.
 

To the middle of the front I added two doilies and then added a small image on top.  Lastly, I pulled the crystal buckle together with a ribbon bow and attached that to the bottom of the image.
 
 
I covered the 2 pages with a white embroidered fabric.  I added the pink trim to the lower part and then the dainty dangle trim and the white tassel trim to the bottom.  I then added a piece of the butterfly dangle trim to each lower side of the page.  I glued an acrylic heart and (3) 2m rhinestones to each butterfly.  The images were added o a vintage curtain applique and then glued to the middle of each page.
 
 
Heart Dangle Trim
White Tassel Trim
Dainty Dangle Trim
Embroidered White Rose Lace
Butterfly Dangle Trim
Crystal Buckle
2mm rhinestone chain
3mm rhinestone chain


Monday 12 September 2016

What's New In The Store!

Good morning friends, its Monday, and time to share what's new in the Shabby is Chic Boutique Store on Zibbet!
 
NEW this week!!
 
Embellishments!
 
Teardrop Sprays!

 
Paris Themed Buttons!
 
New Napkins!


Gorgeous laces and trims!


We hope you will pop over to Shabby is Chic Boutique on Zibbet and check out these new items and all of our in stock items!
Thanks for stopping by today!
 

Thursday 8 September 2016

Shabby Altered Cuff by GDT Mimi C.

Here is a lace cuff that I created as my very 1st guest design team project for Shabby is Chic Boutique!
 
 
  I have never made a lace cuff before, so I had a great time creating this shabby lace cuff using all the beautiful trims, laces, and embellishments from SCB on Zibbet. The base of my cuff is made using the beautiful clustered rose venice lace.
 
 
  Layered on top of that is the super dainty pale pink flower trim. I then layered one of the beautiful butterfly appliqués from SCB and cut apart the butterfly dangle lace to get 2 smaller butterflies to layer on either side of the bigger butterfly appliqué. The main centerpiece is made from the folded tulle trim in blush. I actually cut the trim apart to make the luscious shabby flower topped with a crochet doily and a beautiful pearl and rhinestone bling piece from SCB.
 
 
  I cut apart the flower dangle trim and layered 3 of the flowers together and placed them underneath the shabby tulle flower I created. With the left over dangle pieces from the flower dangle trim I had left over, I tucked them under either side of the shabby tulle flower.
 
 
  I also added some of the 4mm flatback pearl trim in pink to give the cuff a little more dimension and color. Lastly, I sewed on some snaps to be able to wear this beauty on my wrist.
 
• 4mm Flat Back Pearl Trim – pink
• Flower Dangle Trim
• Folded Tulle Trim in Blush
• Pink Pearl and Rhinestone Bling
• Clustered Rose Venice Lace
• Butterfly Appliqué
• Butterfly Dangle Lace
 
• Dainty Pale Pink Flower Trim
 
Thanks for stopping by today. Please check out all the great items from Shabby is Chic Boutique on Zibbet.


Tuesday 6 September 2016

Altered Gift Box by GDT Jen E.


Good morning friends, Jen here today with my first Guest Design post for Shabby is Chic Boutique on Zibbet.
Today I have made a gift box.


Before assembling the box I added some light weight tissue type fabric to the side panels
 
Then I assembled the box...
 
 
Next, I added trims and some gorgeous lace from Shabby is Chic Boutique on Zibbet.


Lastly, the finishing and most exciting touches... the BOW and TASSLE!!
 

WHAT A STUNNING ACCENT! 
 

The products from Shabby is Chic Boutique were SO much fun to play with! Why don't you go over and check them out for yourself? You just might find the piece you've been looking for to finish off your masterpiece!

Here is  my video showing how I made this gift box.

Thanks for stopping by! 

Encourage each other always! 

xoxo JEN