Showing posts with label bling. Show all posts

Sunday, 21 May 2017

Shabby Altered Letter by Kathi

 
Good morning everyone, today we have the talented Kathi up with her beautiful shabby altered letter.
Kathi has used lots of beautiful items from the KS4U store!
 
 
Please check out Kathi's video for all the details below!
 
 
Thanks for stopping by today, please check out the KS4U store links below.

Friday, 19 May 2017

Ballet Shoes by Sarah

Good morning everyone, today we have some beautiful ballet slippers created by DT member Sarah.
She has used some beautiful items from Kraftsupplies4U.


Please check out Sarah's video below for more details!


Thanks everyone for stopping by, please check out the KS4U Stores
 

Wednesday, 3 May 2017

DT Package and SALE!

Good morning everyone! Today I have my May DT Package and some sale information! Let's do the sale information first!

KS4U is having a sale now through May 10, 2017 for 25% off of everything in both of the stores.
The COUPON CODE IS: mom25. You can use in either store or both! Hurry over to KS4U.net or the KraftSupplies4U on Zibbet for this awesome sale!

Now here are the goodies I picked up for my DT package. The codes listed are for the KS4U.net location
 White Rose Lace -b885 
Crochet Lace - b645 
White Lace  - b906 
Heart Appliques - b920 
Light Green Lace - b646 
White Hand Crochet Doily - b460
 Square Bling - b896 
Silver Bling - b810

Monday, 17 April 2017

Shabby Chic Frame by DT Member Sheila

 
Good morning everyone! Today on the KS4U blog we have talented DT member Sheila with this beautiful shabby chic frame she has altered.
 
 
Beautiful trims from KS4U!


Kraftsupplies4u has a huge selection of flowers in stock now!

 
For a complete look at this lovely project, click the video link below!
 
 
Thanks for stopping by and please check out the Kraftsupplies4U stores
 

Monday, 10 April 2017

Doily Lace Journal by Sarah


Good morning Kraftsupplies4u fans! Today we have the very talented Sarah up with this gorgeous project she has created with lots of items from the KS4U store.

As you can see she has created a beautiful Doily Lace Journal, and added a stunning image to the centre as a focal point.


Sarah has used some of the Pearl Mesh from KS4U on the spine of the journal.


You can find lots of great doilies on the KS4U site, Sarah has used lots of them on this journal.


 Here is the front cover once again, isn't it beautiful?

You can check out Sarah's YouTube Channel or click on the video below to see how she created this stunning journal.


Thanks for stopping by, please check out the KS4U Store!

Sunday, 9 April 2017

Fairie Tales Fabric Book by Kim

Hello KS4U fans! Kim here today with my first project for April. I created a fun and whimsical Fairie Tale book with tons of great laces, trims and charms from KS4U.
 
 
I started off with one of the Large White Doilies and used 5 of them as my base for the book. I added some images from Pinterest, as I wanted this book to have a Gothic type of feeling, rather than a Disney Fairy Tale feeling.


Rolled flowers created by me from some blue velvet material from my stash and some bling from KS4U to finish it off!

 
I layered on lots of lushious laces from KS4U, there is so many new ones coming in stock weekly, that I was spoiled for choice!


This funky brooch is from a thrift store a few years back and I kept it waiting for the perfect project, and this was it!


I hope you will check out my full video on my YouTube channel or click the video box below to see what I did and how I made this fun book.
 
Thanks for stopping by and please check out the Kraftsupplies4U Stores!


Wednesday, 15 March 2017

Welcome to Kraftsupplies4U!!

 
Welcome everyone to the NEW Kraftsupplies4U Blog!
 
We are so excited to be here, and our designers are ready to get going and create some new projects for you!

Amy Love, the Owner of Shabby is Chic Boutique, has sold her inventory to Julie McDonald the owner of Kraftsupplies4U, in that sale, it included this blog.  Which now will be the home of Kraftsupplies4U and its designers. Amy has done a video explaining this further which you can view below.


Just to familiarize yourself with our shops, we have posted links to both of our stores on the right hand side of the page. We have both a web store and a Zibbet store. We will be posting some sneak peeks of our items in the coming weeks for you to see.
 
In the mean time we have two coupon codes for each of our stores, just follow the links below to start your savings!


We are thrilled to be entering the blogosphere and extending our range to reach more people and share our Design Team's talents with everyone.


Please stay tuned in the coming days for posts from Kim and Heidi who will be running our blog, and please click on our design team photos on the right hand side to follow them on their social media!
Thanks for stopping by!


Tuesday, 21 February 2017

Magical Unicorn Carousel by Betty A.

Good morning everyone, Betty here today with my next project for Shabby is Chic Boutique on Zibbet.
 
This truly was a fun project to create. What better way to show case Shabby Chic trims from Amy's store than a shabby carousel featuring the trendy unicorns. I have created a short video to show how the carousel works!


I started out using 2 styro foam round disc measuring 1-3/16in x 8-7/8 inches for the center measuring 7-5/8 in. Using my Cricut, I cut out a 10 inch circle for the roof of the carousel. After covering the paper towel roll, attach it to the bottom and the top of the styro foam base.


  Lastly, glue on the roof for the carousel.
Oh and I can't forget that I used a 7inch Turntable to make it move!
 
 
I used an array of trims from the SCB store, and I hope you will pop over to the Zibbet Shop and get some for yourself.
 
I hope you have found some inspiration here today!
Thanks for stopping by, have a magical day!


Sunday, 15 January 2017

Shabby Wall Hanging by DT Member Goldie

Hi everyone Goldie here today and I am sharing my wall hanging I have created for Shabby is Chic Boutique on Zibbet. I love how sweet this turned out.
 
 
 I used lots of Shabby Is Chic Boutique laces and trims from my design team package as well as a few from my own personal Shabby Is Chic Boutique stash. I also used a piece of fabric from my own stash as well. 
 
 
I started with a large piece of heavy duty chipboard which I cut down to 8" x 10". I covered both sides of the chipboard with some lightweight quilt batting, then covered both sides with some off white muslin. This makes a sturdy base to work with for adding laces and trims. I covered just the front side with that delicate pretty pink fabric from my stash. Everything in this project was adhered with Fabri-Tac or hot glue.
 

As you can see from the photos I have lots of layers going on from the top to the bottom and along the edges as well. Those cute little pink clay flowers I could swear I ordered from Shabby Is Chic Boutique back when it was just a Facebook page. (?Am I right or wrong Amy?)


I don't remember where I found this image so whoever you are that made this, thank you! It's brilliant and please know that it is being used only for this wall hanging which will be hanging in my craftroom.


The image has two layers of quilt batting behind it for maximum "puffy" effect, and was framed with a narrow trim from my stash. To finish the image area, I added a piece of Shabby Is Chic Boutique 3 mm Rhinestone Chain to the dot of the 'I' in the word witch. I used one of the gorgeous Pearl and Rhinestone Crowns from my Shabby Is Chic Boutique stash and added a tiny seam binding bow from which I hung a Witch Hat Charm from SCB. I also added two of the "drops" from the Pink Teardrop Sprays for added dangle cuteness, these little goodies are absolutely multifunctional. I also used individual pieces of SBC's amazing 3 mm Rhinestone Chain to add serious sparkle at the bottom. I put one piece on each of the White Tassel Trim dangles. 
 

For the bow, I used all things SBC, such as seam binding, tiny pearl strands and other various narrow trims. I tied this shabby bow by hand. I'm not thrilled with it, but that's okay, it's supposed to be shabby right? I used a Silver Wrap Filigree from SBC which I painted off white then added a Rhinestone Heart from my SBC stash to finish it off.  Also to finish the entire piece I added my label to the back. (The odd color on my label is just from the wet glue. It's clear and looks normal when dry.)
 
Thanks so much for stopping by today, please check out my video below.


Beautiful I think.
xoxo ~ Goldie

Thursday, 20 October 2016

Shabby Chic Woodland Sleigh Kit in Pink by Amy Love

 
Good moring friends! Today I would like to share another take on the Shabby Chic Woodland kit. 
Amy has created the sleigh kit in pink and has a full tutorial on her YouTube channel below.
 
Isn't it gorgeous?
 
 
The kit comes chock full of items, laces, trims, that gorgeous bird, bottle brush trees, bling and more!
You have your choice of either a white kit or a pink kit.
 
Here is Amy's Tutorial!
 
 
There are still a few kits available, but you must be a member of the Shabby is Chic Boutique Facebook group to get one, so hurry over and join us!
Thanks for stopping by today.

Wednesday, 19 October 2016

Shabby Chic Woodland Sleigh Kit by Kim Fuller

Good morning friends!! I have a very special project to share with you today. This is the Shabby Chic Woodland Sleigh Kit, which is sold Exclusively in the Shabby is Chic Boutique Facebook Group.
You get so much in this kit I was able to make three separate projects! 
There is a lot of information to cover today so lets get started!
 
 
The sleigh you get in your kit comes Gold, but I wanted to paint mine white. I also added some silver sparkle to it as well, so I used some silver glitter spray over top of the white paint.
 
 
After the paint was dry, I added a piece of floral foam to the sleigh to achieve some height, and also I added some moss to the bottom of the sleigh so you wouldn't be able to see the foam from the outside of the sleigh.
 
 
I added more moss to the top of the sleigh, which really started to give it that "woodland" feel. Once that was finished I started to attach some of the gorgeous laces and trims from the kit.
 
 
I added a second layer of this beautiful pearl and lace trim on top of the scallop lace, its so gorgeous! Once that was completed, I started to add some greenery from my stash to the sleigh to really make it have the feel I was going for.
 
 
I also added some other greenery from my stash, but I didn't like the look of it, I really wanted it to feel wintery, so I sprayed the smaller greens white with some more of the silver sparkle spray too.
 
 
Once the sleigh was to this point, I began to work on the embellishments. First up is the bottle brush trees that you get with the kit. They were already so lovely I just added a tiny star from my stash to each of them and then glued them into the sleigh.


I used the pearls from the kit and added them to the front of the little trees. I added some Diamond Stickles to them to give them some Christmas sparkle!
 
 
You receive four of the very cool evergreen pipe cleaners in the kit as well. I made a little wreath for the sleigh using one of them, by just looping it into a circle, added some of the kit's eyelash trim and one of the 5 bows you receive in the kit. Its super cute and so easy to make!
 
 
I used some of the white seam binding from the kit and this gorgeous bling piece and created a lovely focal point on the front side of the sleigh.

 
For the runners on the sleigh, I added some of the lovely pearl trim and more of the eyelash trim and this really made it look so elegant!


You also receive a fun digital download with your kit and it includes this fun little banner! I printed mine off and used some vintage silk ribbon from my stash to attach the banner to it. I then added it to the side of the sleigh.


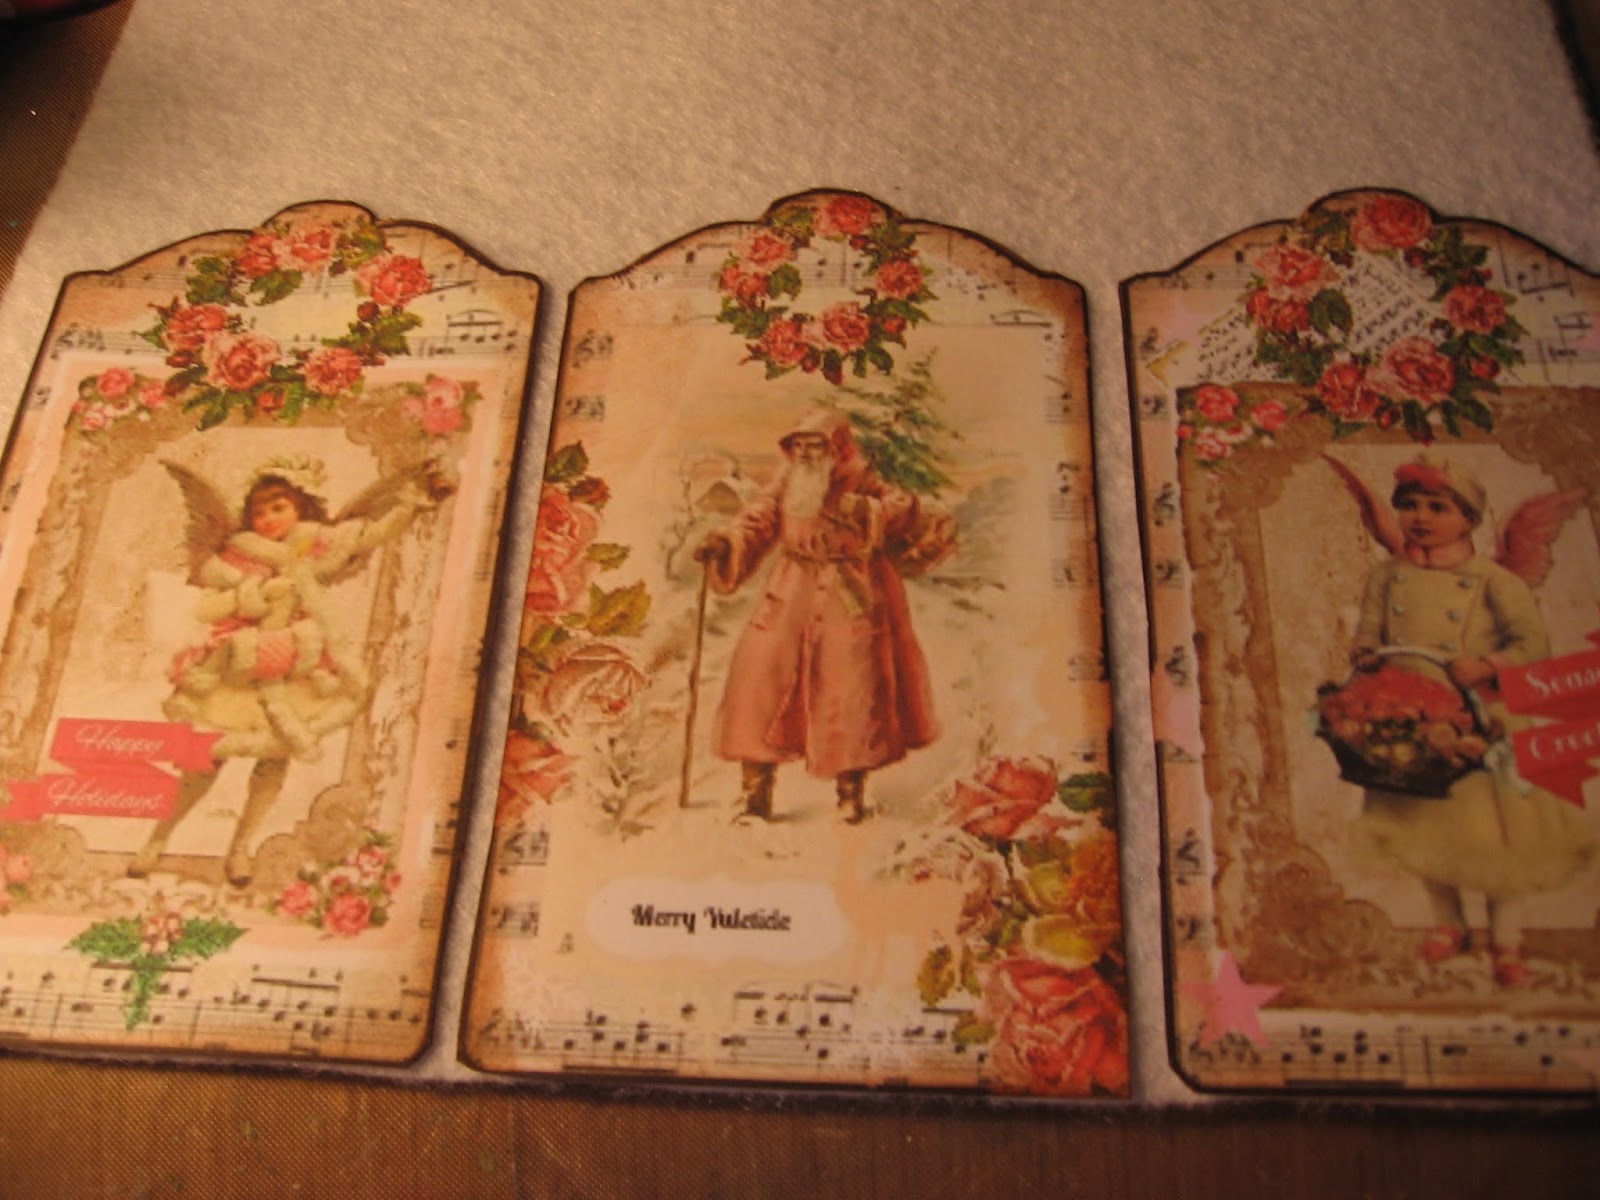
 I also used the three tags from the digital download and attached them together with some felt and pearl trim from the SCB store. I also added some pink cameos and rhinestone cup chain trim, also from the SCB store. I wanted to use the tags as a back drop for the little Christmas tree I created.


Back of the tags
 
 
Now on to the Christmas tree!  As I mentioned you receive 4 of the evergreen pipe cleaners in the kit. I decided I needed a little tree to stand beside the sleigh. I cut the pipe cleaners up and fashioned them to look like an evergreen tree.  I then used the little wooden spool, also from the kit, and made that into the stand for the tree. Lastly, I glued the spool to one of the doilies, and voila! A mini Christmas tree!
 
I cut out the rest of the images from the digital download for the kit and used them to decorate under the tree.


I used more of the eyelash trim as a garland for the tree, added some pearls and the floral flat back pearls and ribbon roses as decorations. I added a little rustic star from my stash to the top of the tree and another of the kit's bows and rhinestone bling to finish it off.

 
I also used three of the snowflakes that come in the kit and added a pearl to the centre.
 
Ok! Now we are going to work on this gorgeous bird that comes in the kit!
 
 
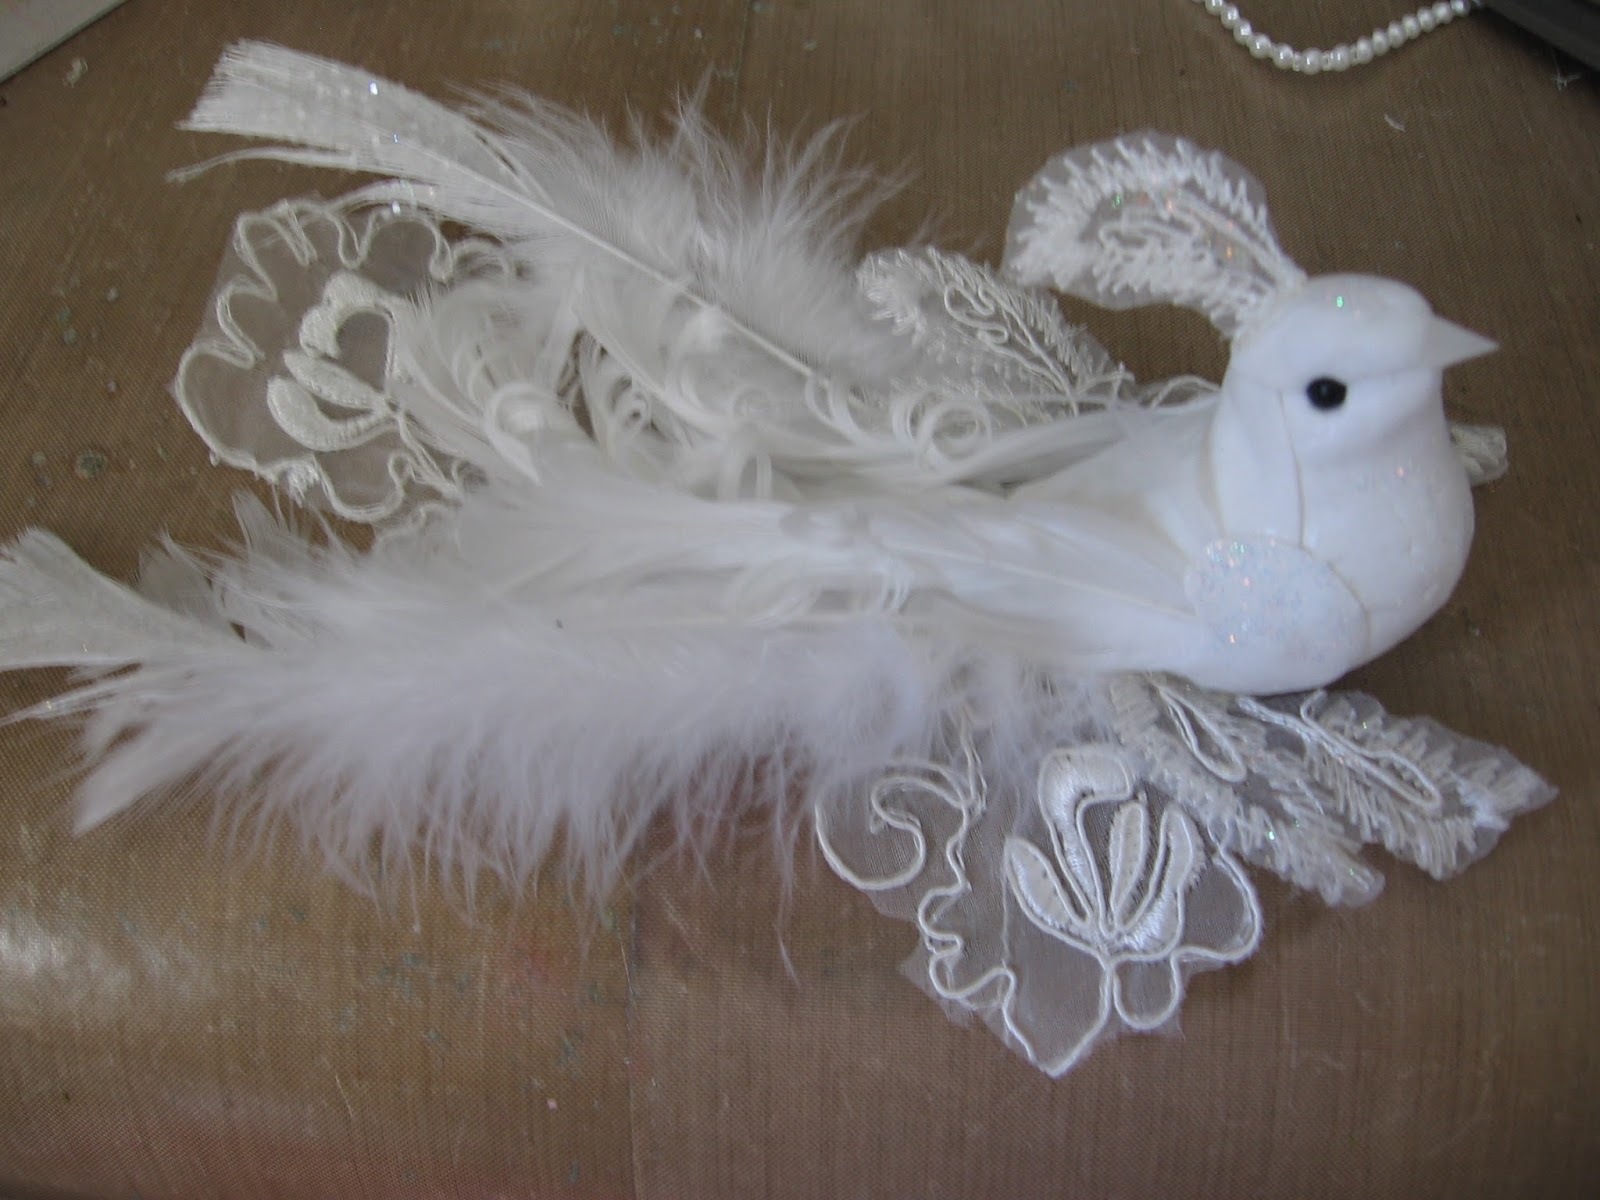
The kit comes with some beautiful feathers and also a lovely large white applique. I wanted to dress up my bird with the extra feathers and I cut up the applique and added it to the bird as well.
 
 
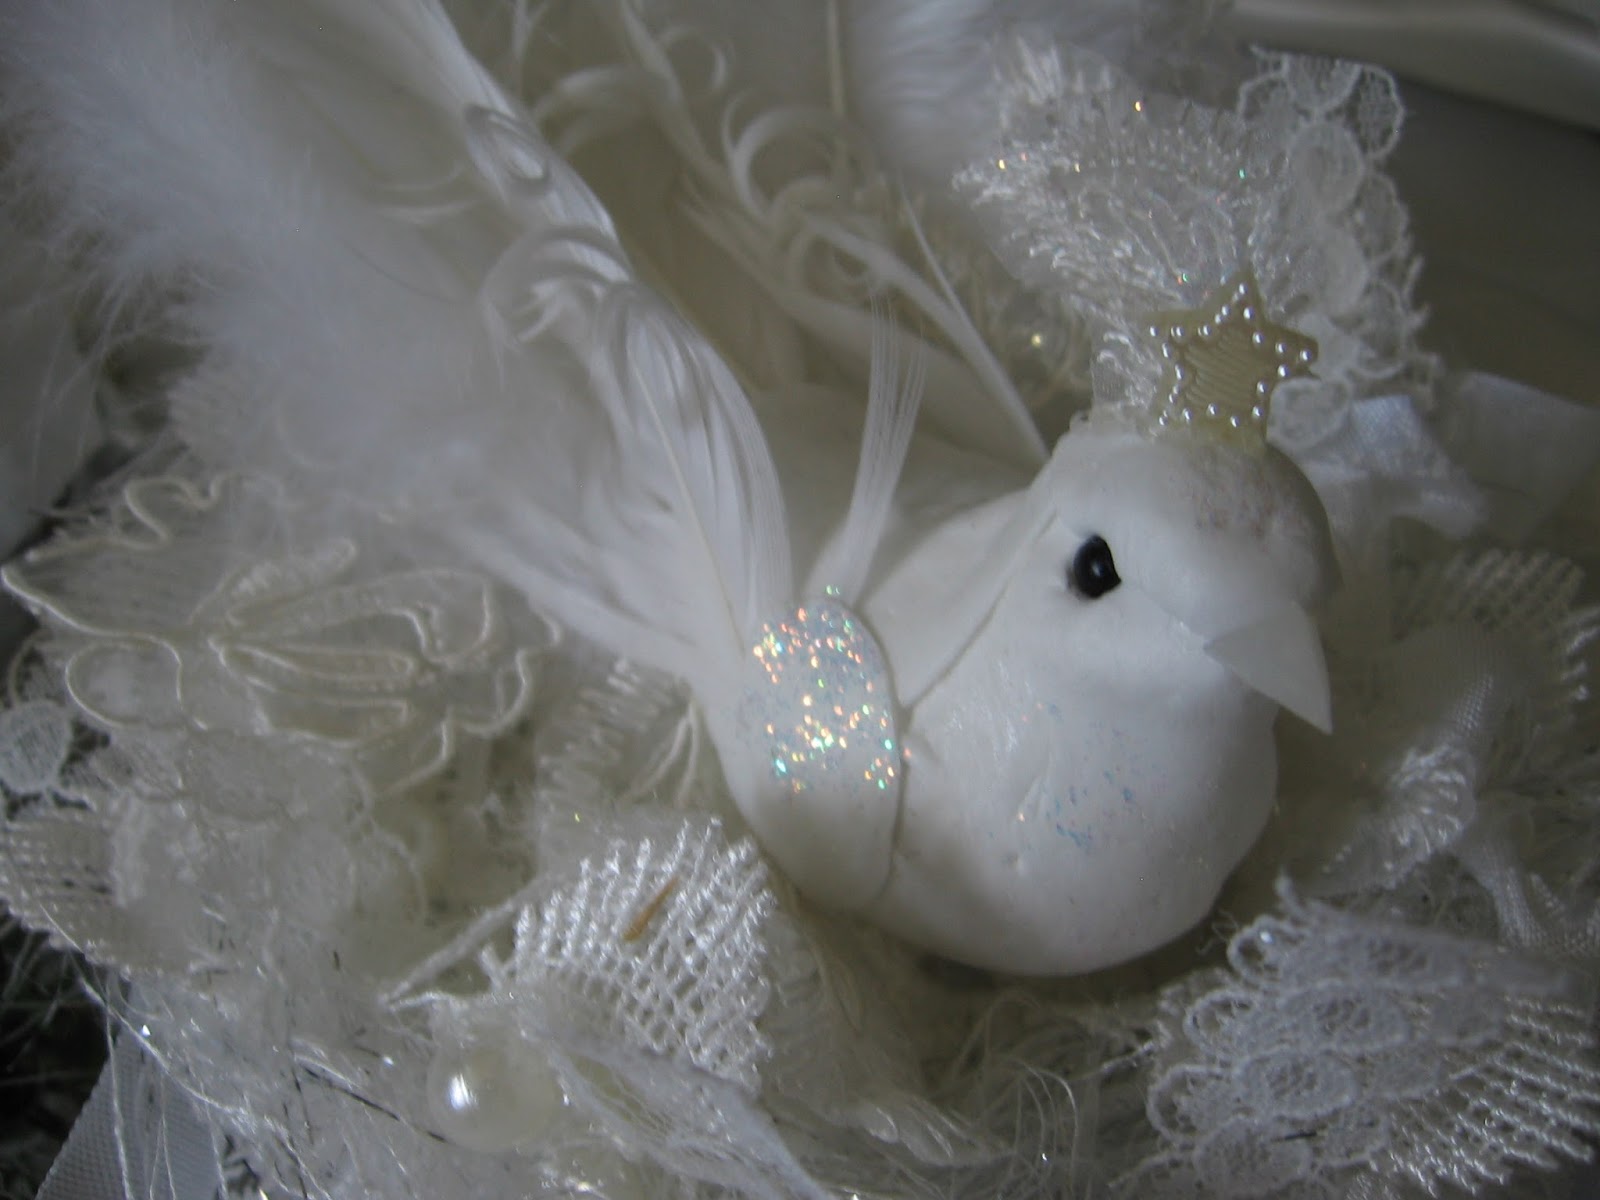
I used one of the applique pieces and added it to the head of the bird, to give him a fancy plume. I also added one of the stars from my stash, that I used on the bottle brush trees so they all matched.

 
For a finishing sparkle, I added some of the Diamond Stickles to the wings and body of the bird. Below is the finished bird, I love how this little beauty turned out!
 
 
As you can see, the bird needs a little nest to sit in. I used up all the rest of the laces and trims and one of the doilies from the kit and created a lovely shabby nest for my bird to rest in.
 
 
I cut up the remaining pieces of lace and began to glue them around the doily, putting pieces here and there to begin to build up the nest.

 
I used the remaining seam binding and tied little knots in them and added them to the edges of the "nest", along with the rest of the eyelash trim as well.  I finished off the nest with some white felt I added to the bottom of the doily, from my stash, which gave the nest a bit more stability.


Last, but not least, its time to alter the mini grapevine wreath you get with the kit.  I wanted to add this wreath to the back of the sleigh and have it as a focal point. I began by wrapping the eyelash trim around the wreath, and then used the remaining pearl trim for the next layer.


I used the last piece from the digital download, which is a lovely Victorian Christmas sentiment. It was heart shaped, so I fussy cut it out and glued it to a wooden heart from my stash. If you don't have a wooden heart, you can do the same thing by cutting out some thick chipboard or heavy cardstock.

 
Once the glue was dry, I added some pearl trim around the edges and then glued it down to the last doily.


 I added the remaining bows, ribbon roses and bling to the wreath and then glued it down to the doily. It is now ready to add to the back of the sleigh.
 
 
When I added it to the sleigh, I felt it needed a little something, so I used another bling piece from the SCB store and a bit of seam binding to make a bow and then I felt the sleigh was now complete!
 
 
Here is the completed sleigh!  I am totally in love with this kit, you get so much and as you can see I was able to make three full projects out of just one kit!


I hope you will check out the Shabby is Chic Boutique Facebook group and you can get one of these kits for yourself.
 
If you would like to see more products from SCB you can check out the store on Zibbet.
Thanks for stopping by today!