
Good morning friends!! I have a very special project to share with you today. This is the Shabby Chic Woodland Sleigh Kit, which is sold Exclusively in the Shabby is Chic Boutique Facebook Group.
You get so much in this kit I was able to make three separate projects!
There is a lot of information to cover today so lets get started!

The sleigh you get in your kit comes Gold, but I wanted to paint mine white. I also added some silver sparkle to it as well, so I used some silver glitter spray over top of the white paint.


After the paint was dry, I added a piece of floral foam to the sleigh to achieve some height, and also I added some moss to the bottom of the sleigh so you wouldn't be able to see the foam from the outside of the sleigh.


I added more moss to the top of the sleigh, which really started to give it that "woodland" feel. Once that was finished I started to attach some of the gorgeous laces and trims from the kit.


I added a second layer of this beautiful pearl and lace trim on top of the scallop lace, its so gorgeous! Once that was completed, I started to add some greenery from my stash to the sleigh to really make it have the feel I was going for.


I also added some other greenery from my stash, but I didn't like the look of it, I really wanted it to feel wintery, so I sprayed the smaller greens white with some more of the silver sparkle spray too.


Once the sleigh was to this point, I began to work on the embellishments. First up is the bottle brush trees that you get with the kit. They were already so lovely I just added a tiny star from my stash to each of them and then glued them into the sleigh.


I used the pearls from the kit and added them to the front of the little trees. I added some Diamond Stickles to them to give them some Christmas sparkle!

You receive four of the very cool evergreen pipe cleaners in the kit as well. I made a little wreath for the sleigh using one of them, by just looping it into a circle, added some of the kit's eyelash trim and one of the 5 bows you receive in the kit. Its super cute and so easy to make!

I used some of the white seam binding from the kit and this gorgeous bling piece and created a lovely focal point on the front side of the sleigh.

For the runners on the sleigh, I added some of the lovely pearl trim and more of the eyelash trim and this really made it look so elegant!

You also receive a fun digital download with your kit and it includes this fun little banner! I printed mine off and used some vintage silk ribbon from my stash to attach the banner to it. I then added it to the side of the sleigh.


I also used the three tags from the digital download and attached them together with some felt and pearl trim from the SCB store. I also added some pink cameos and rhinestone cup chain trim, also from the SCB store. I wanted to use the tags as a back drop for the little Christmas tree I created.
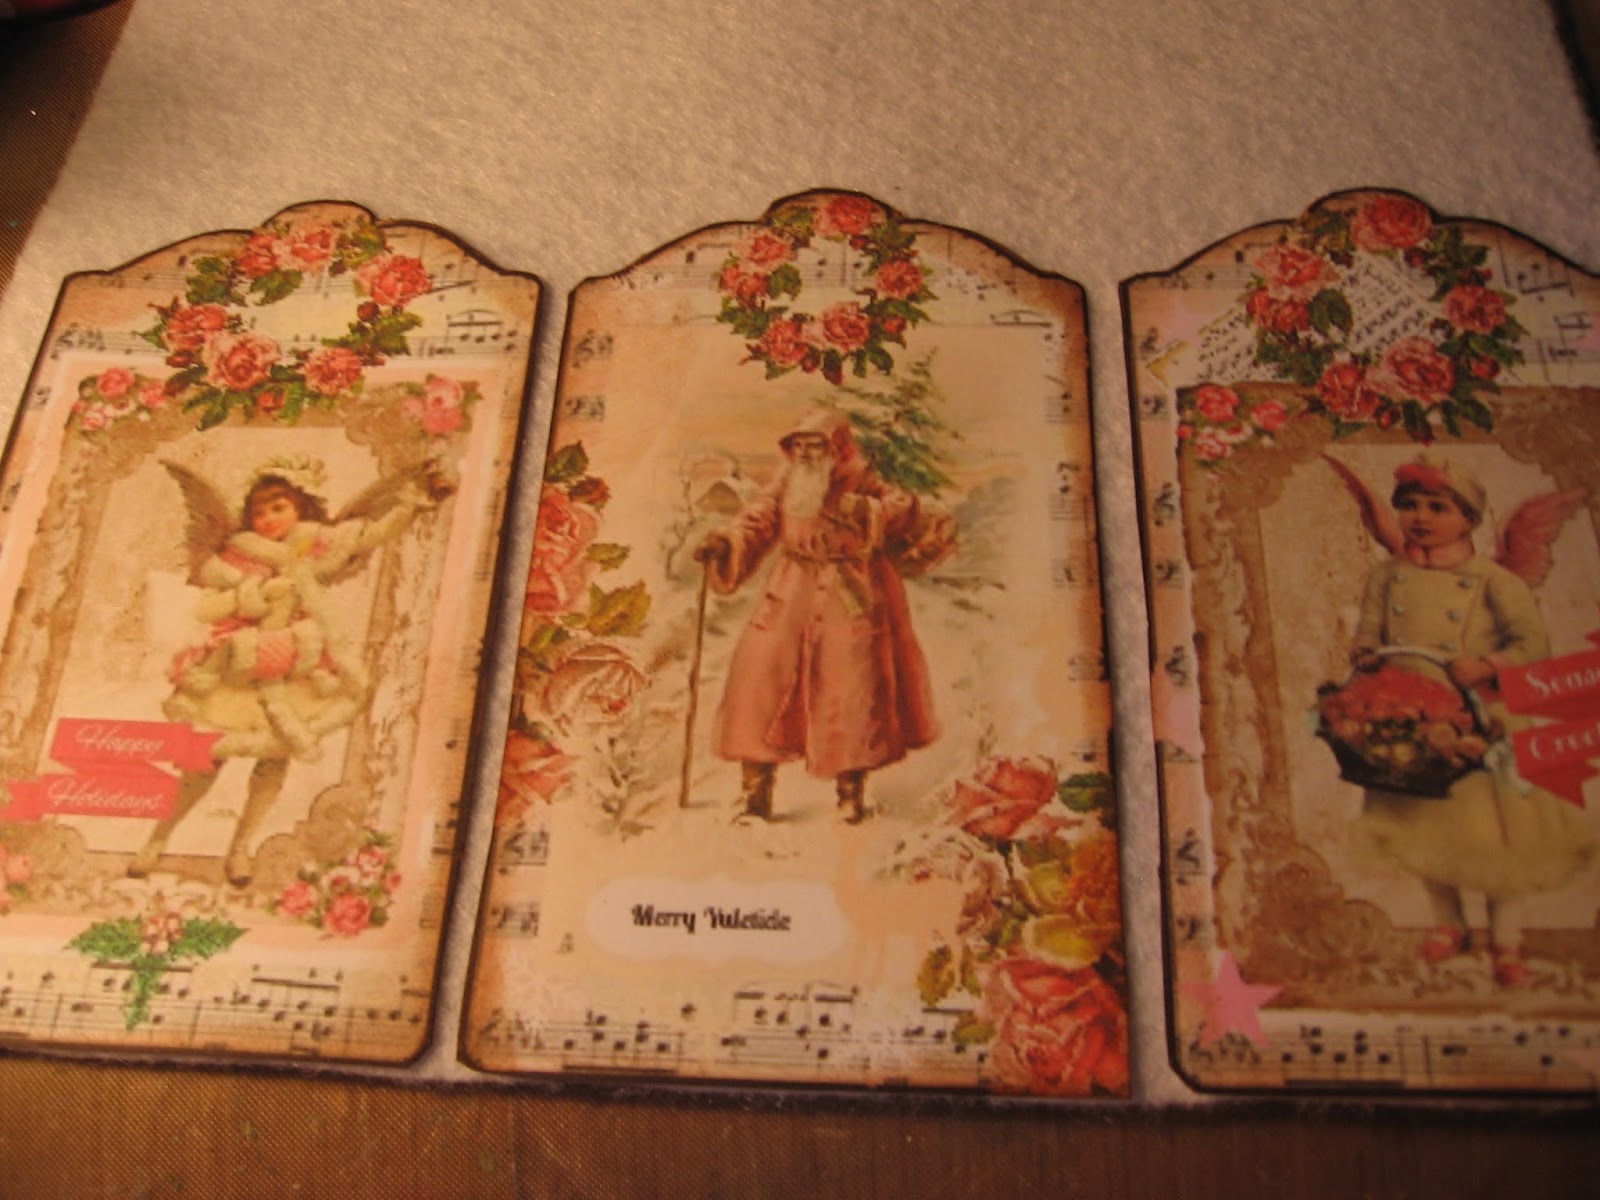

Back of the tags

Now on to the Christmas tree! As I mentioned you receive 4 of the evergreen pipe cleaners in the kit. I decided I needed a little tree to stand beside the sleigh. I cut the pipe cleaners up and fashioned them to look like an evergreen tree. I then used the little wooden spool, also from the kit, and made that into the stand for the tree. Lastly, I glued the spool to one of the doilies, and voila! A mini Christmas tree!


I cut out the rest of the images from the digital download for the kit and used them to decorate under the tree.


I used more of the eyelash trim as a garland for the tree, added some pearls and the floral flat back pearls and ribbon roses as decorations. I added a little rustic star from my stash to the top of the tree and another of the kit's bows and rhinestone bling to finish it off.

I also used three of the snowflakes that come in the kit and added a pearl to the centre.
Ok! Now we are going to work on this gorgeous bird that comes in the kit!
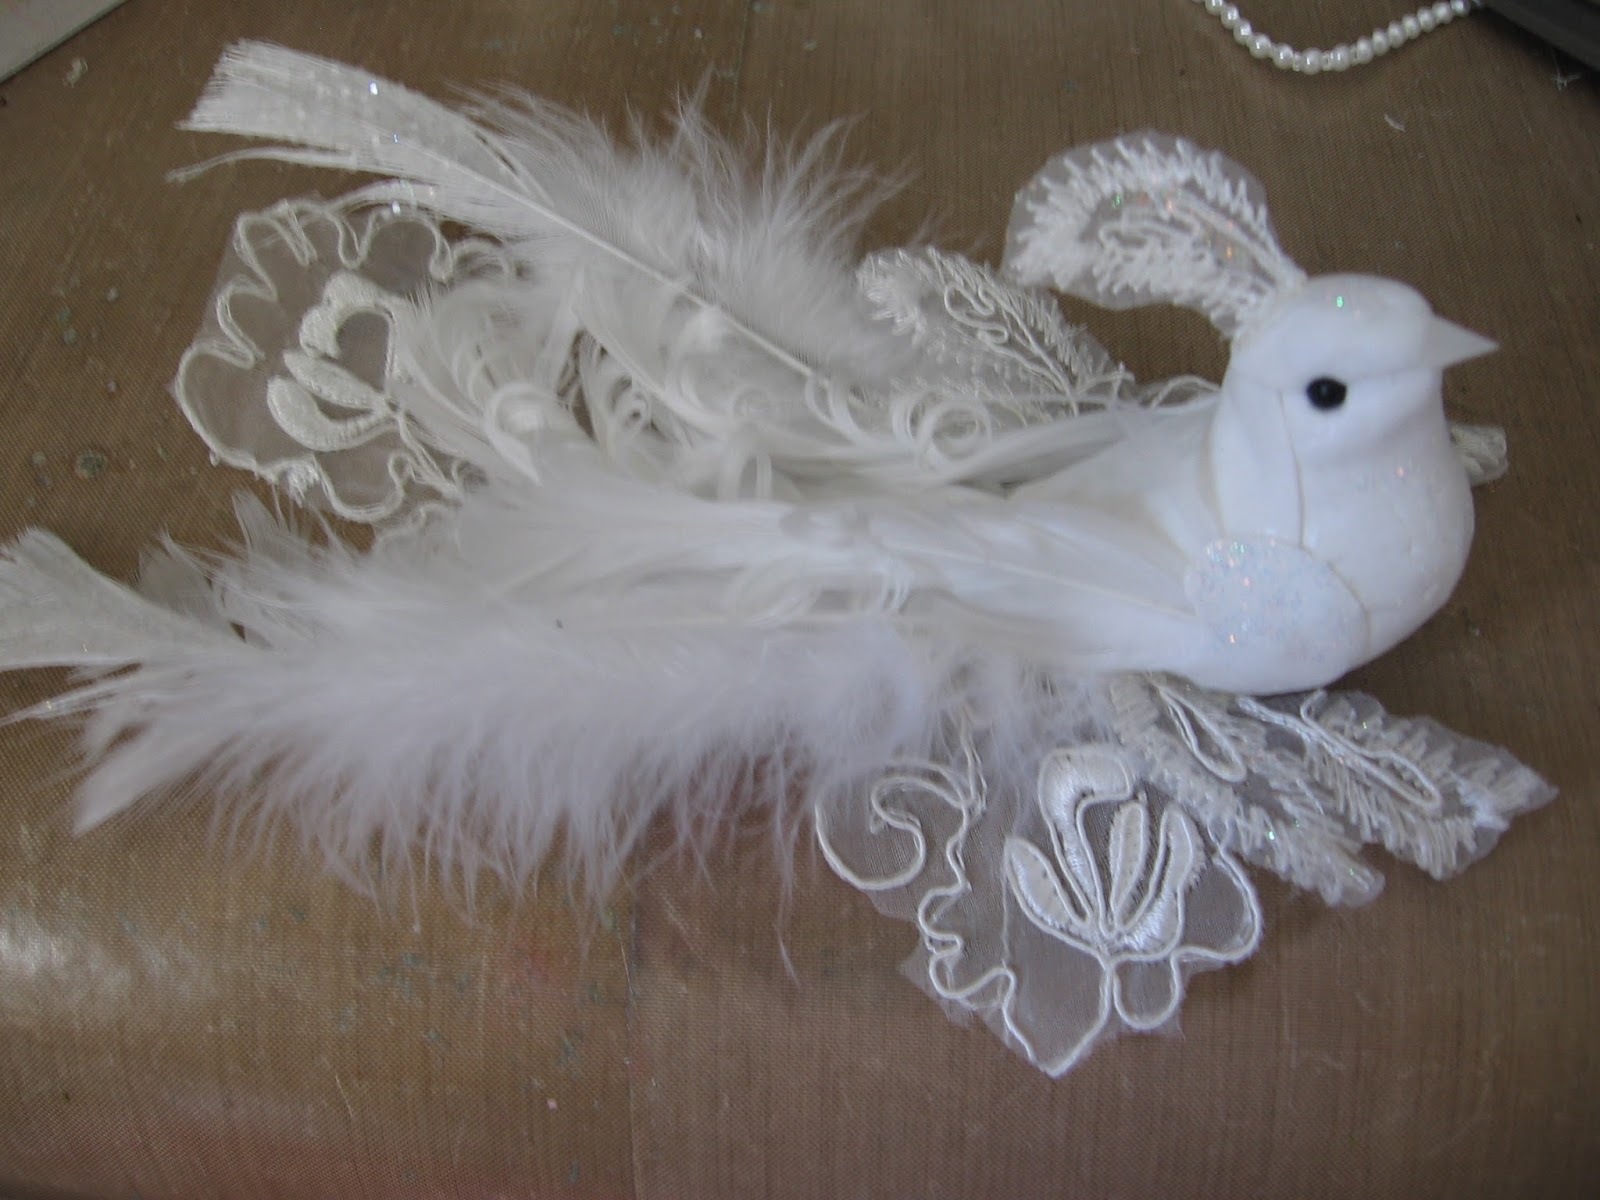
The kit comes with some beautiful feathers and also a lovely large white applique. I wanted to dress up my bird with the extra feathers and I cut up the applique and added it to the bird as well.

I used one of the applique pieces and added it to the head of the bird, to give him a fancy plume. I also added one of the stars from my stash, that I used on the bottle brush trees so they all matched.
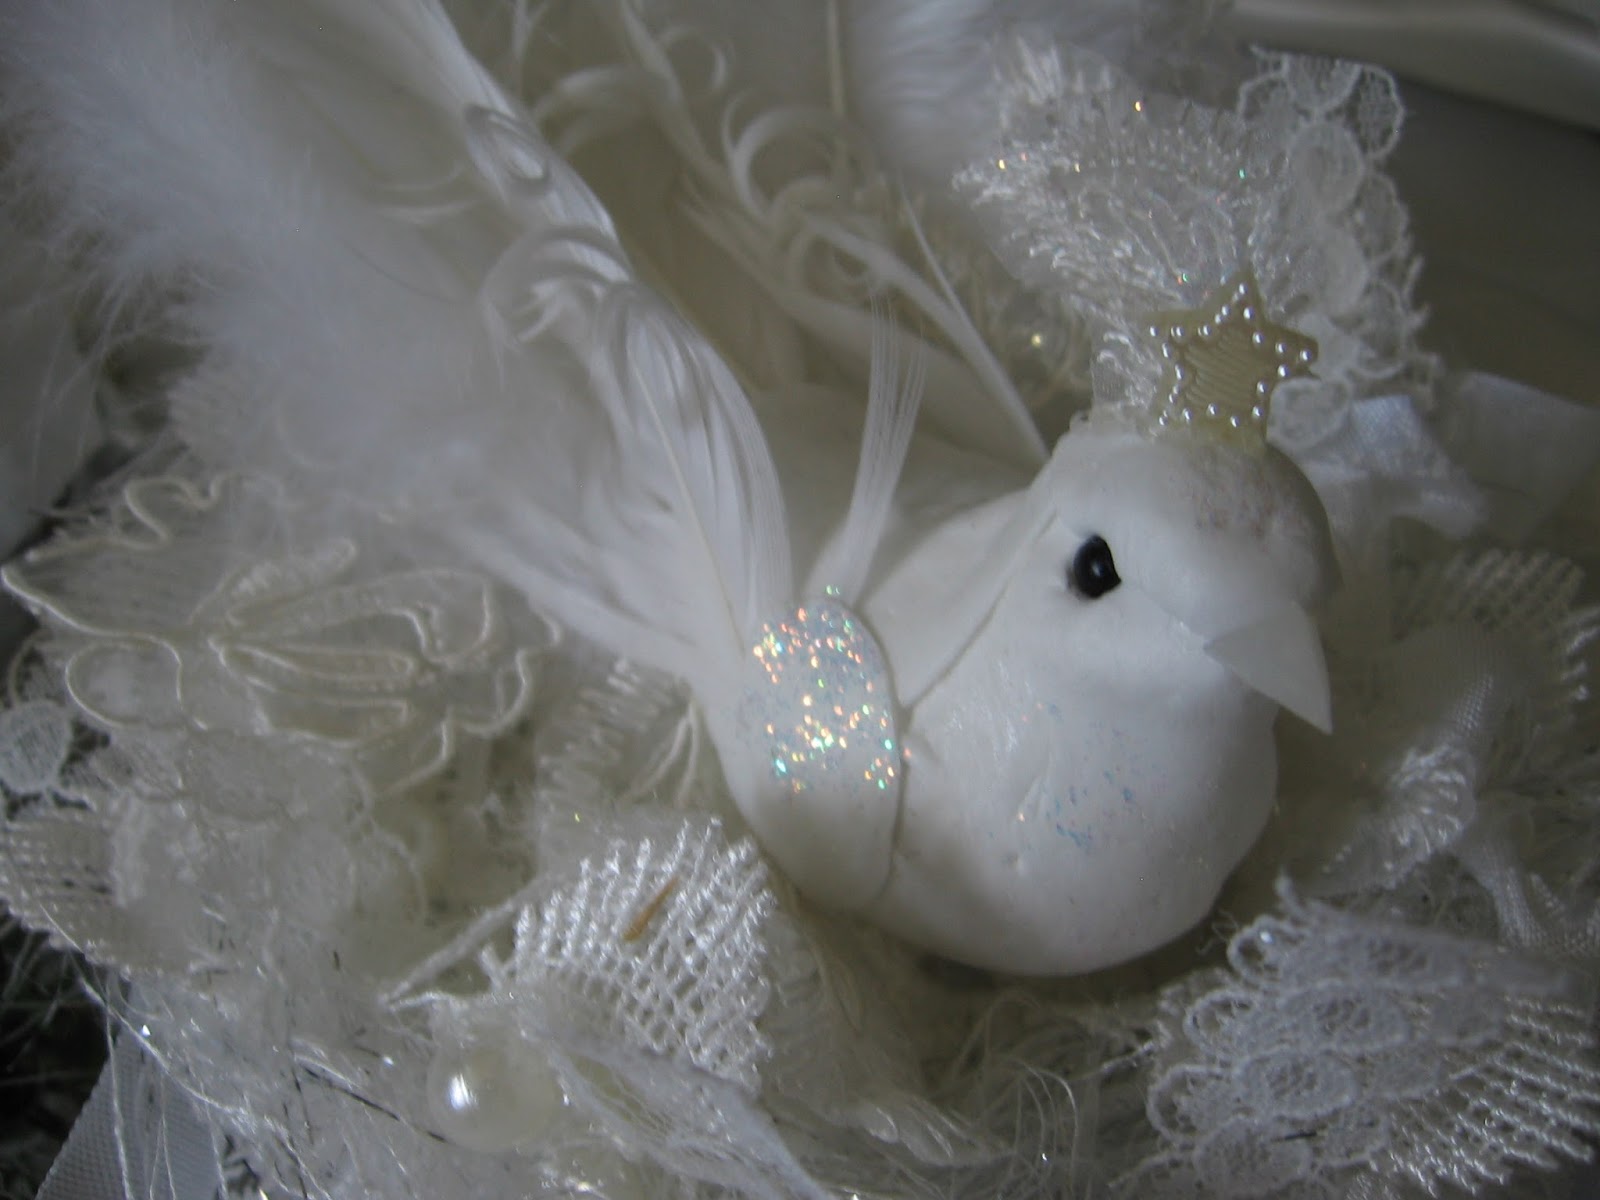
For a finishing sparkle, I added some of the Diamond Stickles to the wings and body of the bird. Below is the finished bird, I love how this little beauty turned out!

As you can see, the bird needs a little nest to sit in. I used up all the rest of the laces and trims and one of the doilies from the kit and created a lovely shabby nest for my bird to rest in.


I cut up the remaining pieces of lace and began to glue them around the doily, putting pieces here and there to begin to build up the nest.


I used the remaining seam binding and tied little knots in them and added them to the edges of the "nest", along with the rest of the eyelash trim as well. I finished off the nest with some white felt I added to the bottom of the doily, from my stash, which gave the nest a bit more stability.

Last, but not least, its time to alter the mini grapevine wreath you get with the kit. I wanted to add this wreath to the back of the sleigh and have it as a focal point. I began by wrapping the eyelash trim around the wreath, and then used the remaining pearl trim for the next layer.


I used the last piece from the digital download, which is a lovely Victorian Christmas sentiment. It was heart shaped, so I fussy cut it out and glued it to a wooden heart from my stash. If you don't have a wooden heart, you can do the same thing by cutting out some thick chipboard or heavy cardstock.

Once the glue was dry, I added some pearl trim around the edges and then glued it down to the last doily.


I added the remaining bows, ribbon roses and bling to the wreath and then glued it down to the doily. It is now ready to add to the back of the sleigh.

When I added it to the sleigh, I felt it needed a little something, so I used another bling piece from the SCB store and a bit of seam binding to make a bow and then I felt the sleigh was now complete!

Here is the completed sleigh! I am totally in love with this kit, you get so much and as you can see I was able to make three full projects out of just one kit!


I hope you will check out the Shabby is Chic Boutique Facebook group and you can get one of these kits for yourself.
If you would like to see more products from SCB you can check out the store on Zibbet.
Thanks for stopping by today!
Kim, this is absolutely STUNNING!
ReplyDeleteThanks so much Michelle!
ReplyDelete