Tuesday, 21 February 2017

Magical Unicorn Carousel by Betty A.

Good morning everyone, Betty here today with my next project for Shabby is Chic Boutique on Zibbet.
 
This truly was a fun project to create. What better way to show case Shabby Chic trims from Amy's store than a shabby carousel featuring the trendy unicorns. I have created a short video to show how the carousel works!


I started out using 2 styro foam round disc measuring 1-3/16in x 8-7/8 inches for the center measuring 7-5/8 in. Using my Cricut, I cut out a 10 inch circle for the roof of the carousel. After covering the paper towel roll, attach it to the bottom and the top of the styro foam base.


  Lastly, glue on the roof for the carousel.
Oh and I can't forget that I used a 7inch Turntable to make it move!
 
 
I used an array of trims from the SCB store, and I hope you will pop over to the Zibbet Shop and get some for yourself.
 
I hope you have found some inspiration here today!
Thanks for stopping by, have a magical day!


Shabby Chic Clock by Sandi Nagel

Hello everyone, Sandi here with my first project for Shabby is Chic Boutique. I have a step by step instruction tutorial for you, so let's get started!


First Step is to take the clock apart, and then apply gesso on the clock surface you’ll be working with (the inside and out).  Allow the gesso to dry and apply a second coat.
Next, you will tear some strips of scrapbook paper (the thinner the sheet the better), you may also use napkins if you wish. Decoupage the torn strips on the clock. Pressing firmly with your brush, ensuring there are no air bubbles left.  For this altered clock, I chose to apply the strips sparingly, as I wanted to paint some of the surface. I painted areas with a light green chalk paint, and I painted the inside of the clock as well.
 
Once the paint was dry, I applied some white gesso sparingly on both the painted outside area, and on the decoupaged area.  Once this was dry, I sprayed several shades of glimmer mist to add some sparkle to the clock.
For the back (lid) portion of the clock, I took 2 pieces of 6x6 scrapbook paper, traced around the lid, and cut two circles.  On the circle that was to go on top, I cut a slit almost to the center, then took the edges and rolled them with a pencil.  I also distressed the edges of the circle.
I then glued the first circle down (on the part that I had applied gesso to earlier), then I glued the distressed (rolled edges) circle on top of it.  I continued to cut small strips of paper and glued them on the lid.  My last layer was a strip of Cream Crochet Trim.
I then used glossy accents to adhere the Silver Wrap Filigree on top of the trip. I also used glossy accents to adhere the flat back pearl button on top of the metal embellishment.  I applied several Mini Foam Roses and Pink Teardrop Sprays along the side, and topped it off with some paper butterflies.  I popped the lid back on the clock and began embellishing the outside.

For the outside embellishments, I begin with Cream Crochet Trim, then applied the Brown Tassel Trim on the top.  I then applied the flat-back pearl trim along the clock frame.  I also embellish the bell portions of the clock with trims and flat back pearls. I used seam-binding to make a bow and adhered it to the side.  I continued adding Mini Foam Roses, paper punched butterflies, metal embellishment, and used a Rhinestone Cameo to dress up the Rose Gold Metal Bow.
 
 
I hope you have found some inspiration here today, please check out Shabby is Chic Boutique on Zibbet.
 
You can also check out Sandi's social media sites as well.
YouTube: Decor8yourlife
Instagram: Decor8yourlife2
Twitter: Decor8yourlife2


Tuesday, 14 February 2017

Shabby Diva Box by DT Member Heidi

Hello everyone, Heidi here today with my next project for Shabby is Chic Boutique on Zibbet.
This time I have altered a box and added lots of gorgeous items from the store.
 
 
With Valentine’s Day today, what better way for a girl to get her pretties on than by reaching into a lovely box to find them?


So, from Dollar Store drab to Diva dressed in lace and pearl’s. My third Shabby Is Chic Boutique DT project for February is a simple dollar tree Halloween box, that’s right Halloween box turned Diva with the addition of beautiful lace and stunning trim from Amy Love at Shabby is Chic Boutique.


The wide lace atop this box is a beautiful and delicate white mesh with satin thread embroidery in a near golden, and white colored satin thread making for beautiful vines leading to trio’s of tiny roses.
The pearl and rhinestone bling centered over flower trim really stands out and helps tie in the lovely pearl trim along the side edges of the box base.


I enjoyed making this Diva box and watching the beautiful things from SCB transform an ordinary (halloween, just had to remind you) box into a lovely piece for your prettiest things.
Happy Valentine’s day my Lovelies!

Tuesday, 7 February 2017

Shabby Loaded Envelope by GDT Betty

 
Hello, Betty here today and I'm super excited to share my first GDT project for Shabby is Chic Boutique on Zibbet. Loaded envelopes are all the rage right now. So, I decided to create my very first shabby chic loaded envelope!
 
 
The base of my loaded envelope came from a 9 3/4 by 12 1/4 photo document mailer. It is perfect because it is very sturdy and you can really stuff it with goodies. This is an awesome alternative for creating the LE. My creative process was simple. I just cut off the flap of the mailer and started the magic.


The designer paper I used is called Bella Rose. Next, I used the beautiful embroidered sequined trim for the front fold down design. I used the mini foam rose that I painted with a light pink acrylic paint followed by Martha Stewart glitter. The foam rose is accented with pieces from the embroidered mesh with hearts.
 
I also used the pink tulle trim and the heart trim from Shabby is Chic Boutique, for the back pocket of the LE.


I also used the folded tulle pink trim layered with the heart trim for the two front pockets. Lastly, I used the embroidered sequined trim at the bottom of the LE and on the back.
 
 
Thank you I had so much fun creating my first loaded envelope!


Friday, 3 February 2017

Shabby Heart and Pin Cushion by DT Member Heidi

Hello Heidi here today to share my very first DT Project for Shabby is Chic Boutique on Zibbet.
 
Of course in February the majority of us turn to hearts, flowers and chocolate but my February includes beautiful laces, trim and pretty things from Amy Love at Shabby is Chic Boutique .


Below my very first design team project, created from a paper mache’ “puffy” heart I painted with gesso and layered a beautiful pink lace from SCB. Following that up with a finely stitched pink trim and multi strand  flat back pearl trim and other pearl bling.


Listed after this heart you’ll see a pincushion upcycled from an old tin I had, I layered it with rosette trim and box pleat trim from SCB I also found a gorgeous gimp trim and bridal applique and more pearl from the store.


I need to mention as well the donation of buttons and butterfly from two very special women to me, Bonnie, Michelle, thanks ladies, you are wonderful. xx


I hope you enjoy the projects from my very first foray into being a design team member and thank you so much Amy Love for having faith in me and believing I had something to contribute to your team.
Have a wonderful day!


Monday, 30 January 2017

Shabby Love Banner by DT Member Goldie

Hi everyone Goldie here. It's my turn on the blog today. It's a happy and sad day for me because I'm happy to share my 2nd design team project for the month of January, but it's sad also because it has come to the end of my term for Shabby Is Chic Boutique. Before I share the details of my project I want to give a huge thank you to Amy for asking me to be one of her designers. It's been a wonderful time and I've learned to "let" myself craft outside my comfort zone. (Lol! Yes "let" myself.) Again, thank you Amy Love! Hugs to you always girlfriend!
 
 
On to my project. Alrighty then, what I have for you this time is a cute little shabby heart "LOVE" banner. As always I used loads of Shabby Is Chic Boutique laces trims and embellishments as well as bling. Some from all of my design team kits and some from my personal Shabby Is Chic Boutique stash. (The struggle is real ladies, I really do have 2 specifically designated areas in my craft room where I store my SCB items.) I did also use a few other items from my craft stash to make this project. 


I started by cutting 2 heart shape layers of muslin for each heart. I added a layer of quilt batting in between for extra fullness as well as stability. These layers were all adhered with a small amount of hot glue, leaving only the top portion of each heart open to facilitate hanging. Next I used layer of flat lace from my stash, I spritzed this with homemade pink with gold glimmer spray to add a pop of color behind Amy's adorable SCB crochet heart doilies. Next, I used Fabri-Tac to adhere a bit of vintage lace to the back of each heart doily. After deciding exactly where I wanted the doilies to rest on the muslin, I added layers of luscious dangle trims from Shabby Is Chic Boutique, I offset each layer to add to the illusion of "fullness". Next, I adhered the crochet doilies to now be-dangled muslin hearts. My project was really beginning to take shape.
 
At this point I have four muslin hearts with dangles, pretty pink background behind crochet doilies...I think to myself- "Nice, now for the fun part". I knew I needed bows. I wanted bling (umm, duh Goldie lol). I wanted butterflies. And I knew one way or another I had to incorporate the beautiful Wooden Landmark Buttons from SCB. These buttons have amazing graphics. So this is how this pretty shabby travel inspired "Love" banner came to a conclusion. Using hot glue I edged the crochet doilies with 4mm light pink flat back pearl trim. Then I tied a knot in each button center with pink and white striped bakers twine then glued it in the center of a cream colored chiffon shabby rosette from my stash. I also added a tiny rhinestone to each button for sparkle. Next I made a small pink seam binding double bow for each heart and attached at the bottom with hot glue. Next I added letters to spell out "LOVE". These are gold glitter foam stickers from my stash. I've had these for so long I have no idea where they came from. From here I moved on to the butterfly sections.
 
Each butterfly section is exactly the same. I used a piece of Shabby Is Chic Boutique dangle lace. I added a tiny pink rhinestone from my stash to the end of each point. I gave each SCB butterfly applique a spritz with that same homemade glimmer spray for a color pop then added a gorgeous SCB Pearl and Rhinestone bling piece. I also used a jump ring to dangle a Silver Heart Charm also from SCB. Lastly I added 2 tiny rhinestones to the tip of each antenna for even more sparkle!
 
 
From here I'm trying desperately to decide how this beauty is going to hang. In my search through what is now craft room chaos, I have discovered that I am seriously low on several key items to any craft stash due to over use - no jute, where did all that ribbon go? There's no way I'm using THAT color! I have other plans for that piece of lace! Man, I really did think I had more lace than this!? I don't want to go out right now, besides that the store is closed! Wow, how did I get here? Lol!! Okay, so after all of that, I decided to use a strand of soft cream colored pearls. I used Fabri-Tac and hot glue to encase the pearls between the back layer of muslin and the quilt batting to keep the "lump" towards the back side away from the decorations on the front. For the butterfly sections I glued the pearl strand between the butterfly and the dangle lace. It is barely noticeable on the back. I like that.
 

For a finishing touch, I added tiny acrylic flowers in pink, white and cream to the end of every dangle on each heart. I then used a dot of Glossy Accents to add a tiny rhinestone to every single acrylic flower. Lastly, I added a tiny cream colored acrylic flower and a pink rhinestone to each seam binding bow. I do love how this banner came out, it really does hang nicely but I can say if I had to do it over again I would change only one thing, and that would be hanging direction. I do believe for my available space this would be better if it hung vertically instead of horizontally. As it stands currently, horizontally it is and horizontally it will stay. Now to get my hubby to help me hang it...


Big crafty hugs and an even bigger THANK YOU AGAIN for having me as a design team member ~ Goldie
Don't forget to check out my video for a closer look at this project and as always please do remember to go over to Shabby Is Chic Boutique on Zibbet to grab everything you can for your upcoming shabby vintage craft projects for this year. 


Wednesday, 25 January 2017

Shabby Chic Butterfly Wall Hanging by Kim


Good morning friends, Kim here today with my next project for Shabby is Chic Boutique on Zibbet.
This time I have altered a Kaisercraft piece, that is a wooden fence and butterfly.
 
 
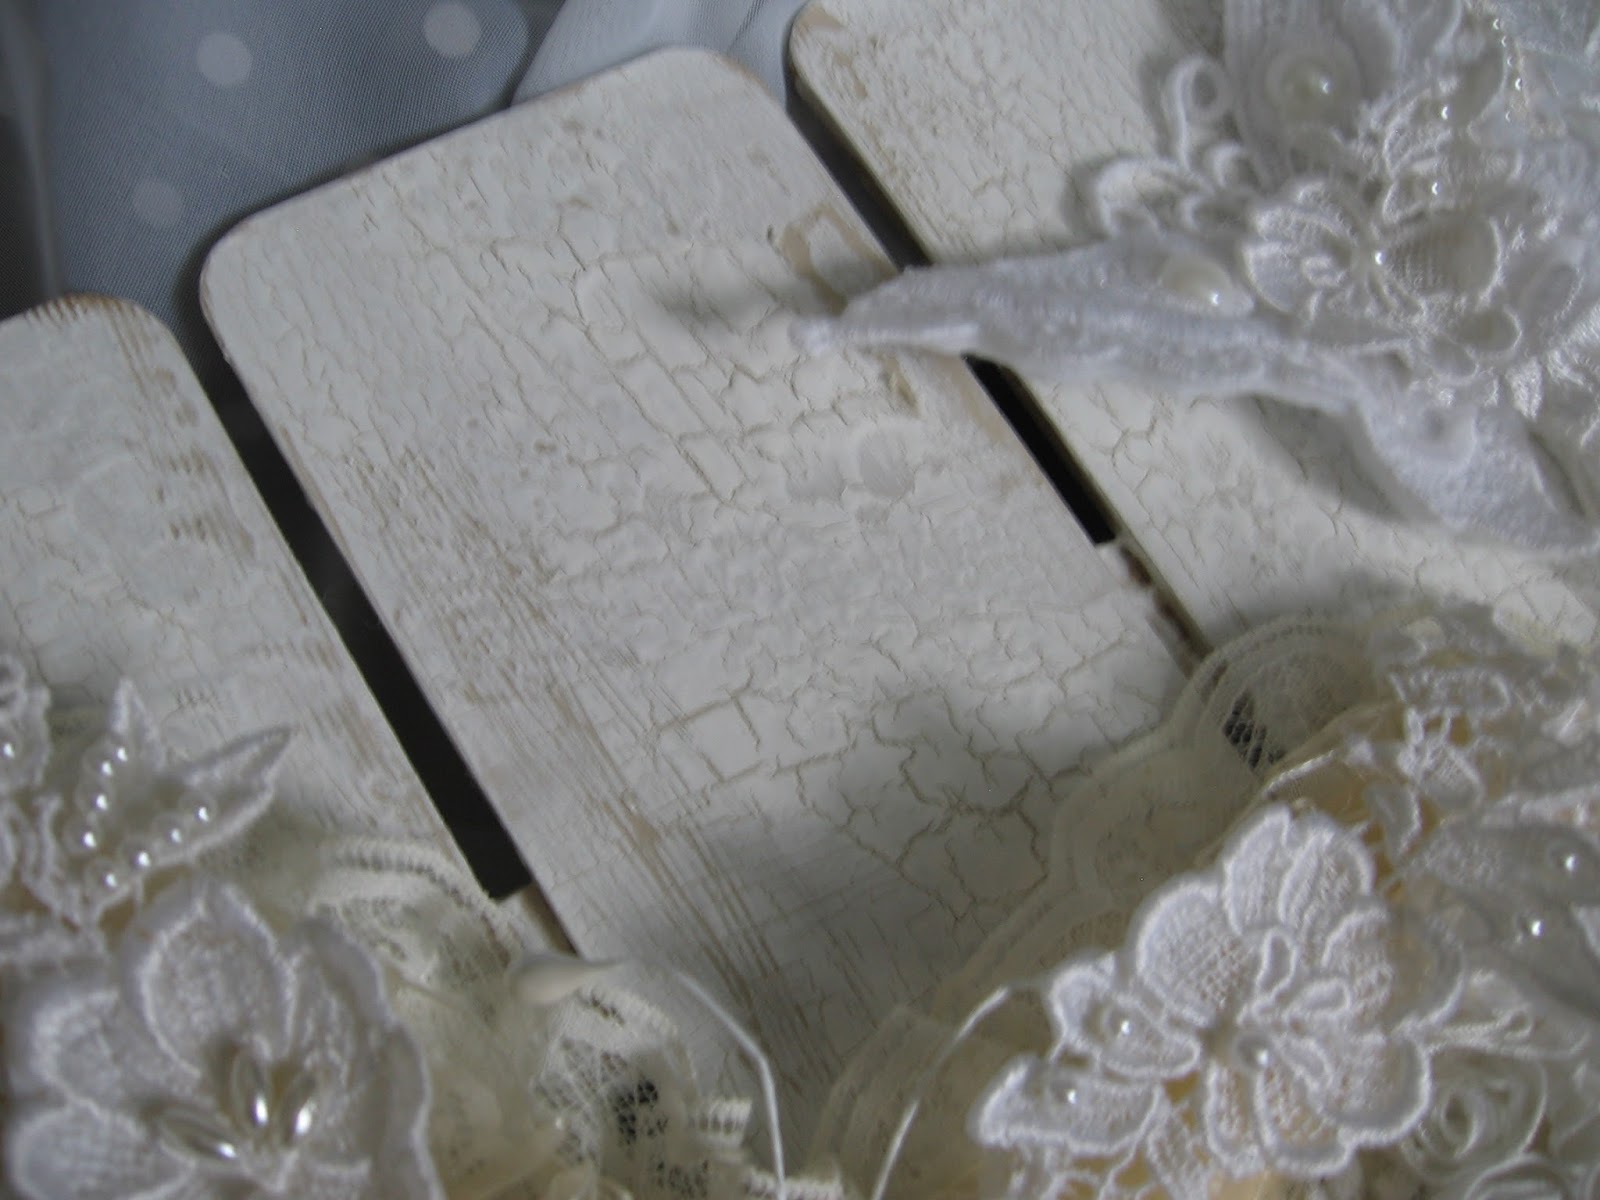
The first thing I did to this project was give it a coat of gesso, then a coat of Martha Stewart Putty. After the paint was dry, I used some crackle medium on top and then finally a coat of white paint to make it crackle.  I then used my Prima distress tool over top of that, to give it a worn and vintage look.
 
 
Once I was finished distressing the fence, it was time to layer on the laces. I started with some of the gorgeous fringe trim from SCB at the bottom. Then layered on some vintage laces from my stash until I was happy with it.


I also needed to alter the wooden butterfly that came with the fence. I used material first on the butterfly then layered on some laces and trims from SCB.  For the center of the butterfly, I used a large rosette trim piece and a gorgeous piece of bling that was gifted to me.


I also added some  fibers and seam binding from SCB, and flat back pearl to the center of the bow.
 
 
This smaller butterfly is from my stash, and I back it with felt to make it stand up on the fence, and added some flat back pearls and vintage bridal trim to it to finish it off.
 
 
I added more laces and topped them off with some of the gorgeous bling you can find in the SCB Store!


I added some vintage pearls from my stash to add texture and dimension to the piece.


And once again here is the final look!
 
Thank you so much for stopping by!